Windows 8.1에서 백업 사진을 어떻게 쉬게 할 수 있습니까?
내가 말했듯이 이 기사, 마이크로 소프트 a renuntat partial la feature-ul 시스템 이미지 백업 in cel mai nou 운영 체제, 즉 Windows 8.1. Din fericire, cei interesati sa creeze o astfel de 백업을 상상해 보세요 pot face acest lucru cu ajutorul 명령 프롬프트 (또는 Windows Power Shell). Insa cum putem 복원하다 그리고 지원 creat cu 시스템 이미지 백업 ~에 Windows 8.1?
Restaureaza o imagine de backup in Windows 8.1 cu System Image Recovery
Imaginile de backup 하나의 Windows 시스템 nu pot fi restaurate din sistem, avand in vedere ca aceste rescriu intregul sistem. De aceea, pentru a putea restaura un astfel de backup utilizatorii au nevoie de un 시스템 설치 DVD (또는 USB bootabil) 또는 a Repair Disc.
하기 위해 restaura o imagine de backup cu System Image Recovery in Windows 8.1 urmati instructiunile de mai jos:
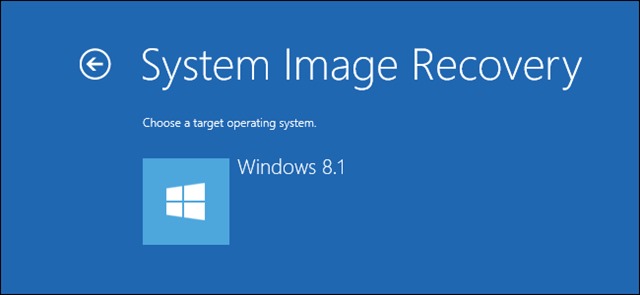
- 입력하다 미디어 장치 Cu 설치 파일 ale sistemului (DVD sau USB bootabil) sau recovery disc-ul in computer
- cand este afisat 설치 화면, 링크를 클릭하십시오 컴퓨터를 수리하세요 afisat in coltul din stanga-jos

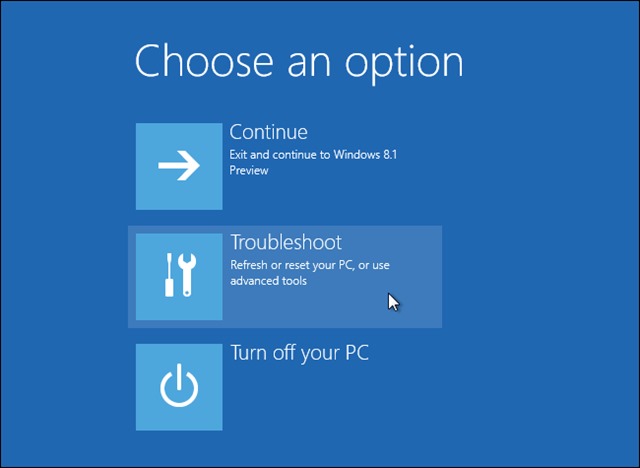
- 그런 다음 클릭하십시오 문제 해결 in meniul afisat
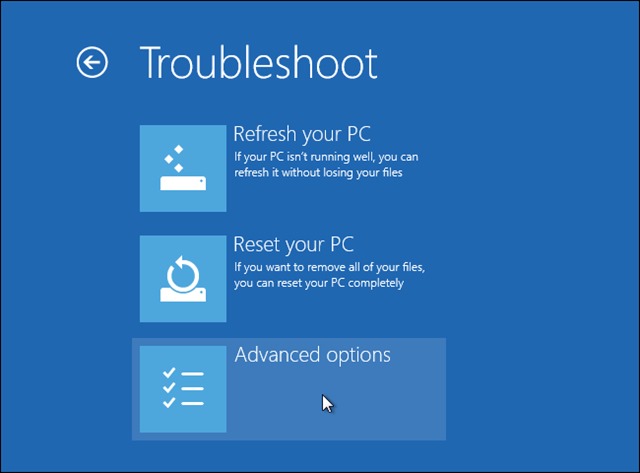
- 선택하다 고급 옵션
- 그런 다음 클릭하십시오 시스템 이미지 복구 ~하기 위해 시스템을 복원하다 사용하여 백업을 상상해 보세요
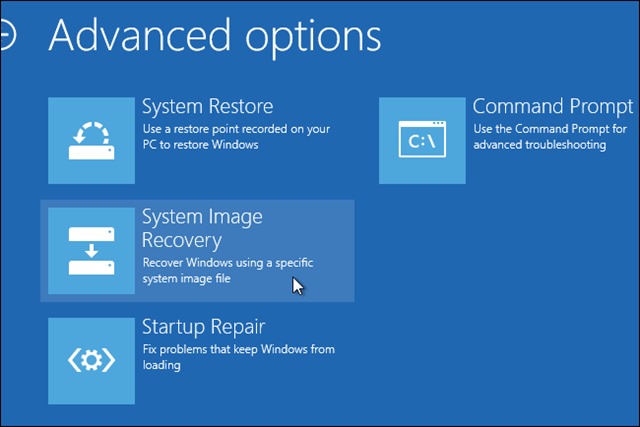
- 컴퓨터에 연결 외부 저장 장치 복원하려는 백업 이미지를 저장한 이미지

- 그 다음에 마법사의 단계를 따르세요 ~하기 위해 운영 체제를 복원하다
성공!
참고: 튜토리얼은 Windows 8에도 유효합니다.
스텔스 설정 – Windows 8.1에서 시스템 이미지 백업을 복원하는 방법
Windows 8.1에서 백업 사진을 어떻게 쉬게 할 수 있습니까?
에 대한 Stealth
기술에 열정을 가진 저는 2006년부터 StealthSettings.com에 즐겁게 글을 쓰고 있습니다. 저는 macOS, Windows, Linux 운영 체제뿐만 아니라 프로그래밍 언어와 블로그 플랫폼(WordPress), 온라인 상점(WooCommerce, Magento, PrestaShop)에서도 풍부한 경험을 가지고 있습니다.
Stealth의 모든 게시물 보기당신은 또한에 관심이있을 수 있습니다 ...

