Deaktivovat & Vymazat mezipaměť DNS – Windows 7, Vista & XP

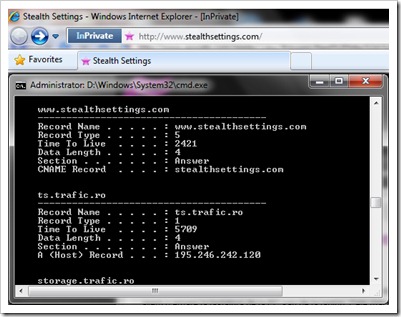
Židle, pokud použijeme novou technologii “Inprivate” A Internet Explorer 8 nebo “Soukromé prohlížení” A Google Chrome, který by po procházení webových stránek neměl ukládat žádné informace, v PC stále něco zůstává. DNS mezipaměť-Ul.

Chcete-li zobrazit mezipaměť DNS, stačí ji otevřít Příkazový řád ochutnal jsi:
ipconfig /displaydnsVymazat, resetovat nebo vyprázdnit mezipaměť DNS ve Windows Vista, Windows 7 a Windows XP.
Ochutnejte vás v Prompt Command:
ipconfig /flushdnsObdržíte zprávu:
Konfigurace IP Windows
Mezipaměť DNS Resolver byla úspěšně vyprázdněna.
V Windows Vista a Windows 7 budete ho muset otevřít CMDs Oprávnění správce pro vymazání mezipaměti DNS.
Zastavte mezipaměť DNS (metoda platná pro všechny operační systémy)
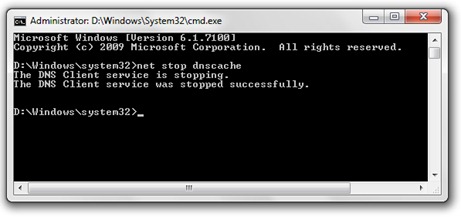
Chcete-li zastavit mezipaměť DNS, otevřete příkazový řádek a napište následující příkazový řádek:
net stop dnscache
Nebo série software-uri Antivirus a Firewall vám nabízí možnost a Zakázat mezipaměť DNSa internetový prohlížeč Mozilla Firefox vám poskytne a doplněk prostřednictvím kterého můžete aktivovat / deaktivovat DNS Cache jediným kliknutím.
Umožňuje zakázat a povolit mezipaměť DNS prohlížeče Firefox:
https://addons.mozilla.org/en-US/firefox/addon/5914
*Abyste měli představu DNS mezipaměť a DNS mezipaměť Otrava, našel jsem velmi dobrý článek na wikipedie.
Deaktivovat & Vymazat mezipaměť DNS – Windows 7, Vista & XP
Co je nového
O Stealth L.P.
Zakladatel a editor Stealth Settings, din 2006 pana in prezent. Experienta pe sistemele de operare Linux (in special CentOS), Mac OS X , Windows XP > Windows 10 SI WordPress (CMS).
Zobrazit všechny příspěvky od Stealth L.P.Mohlo by vás také zajímat...


2 myšlenky na “Deaktivovat & Vymazat mezipaměť DNS – Windows 7, Vista & XP”
Hodně jsi mi pomohl. Už léta jsi pro mě nejužitečnější! Díky!
nemáš zač ;-)