When it comes to sent pictures / Pictures by e-mail, most gmail users use the link “Attach a file“, and the images sent will be displayed at the bottom of our message.
Using the add-on “Inserting images” FROM Gmail Labs We have the opportunity to add Image insertion option in the contents of the email. After activation “Inserting Images”, the new option will be present in the text editor of Gmail.

How we activate the option “Inserting Images” in Gmail
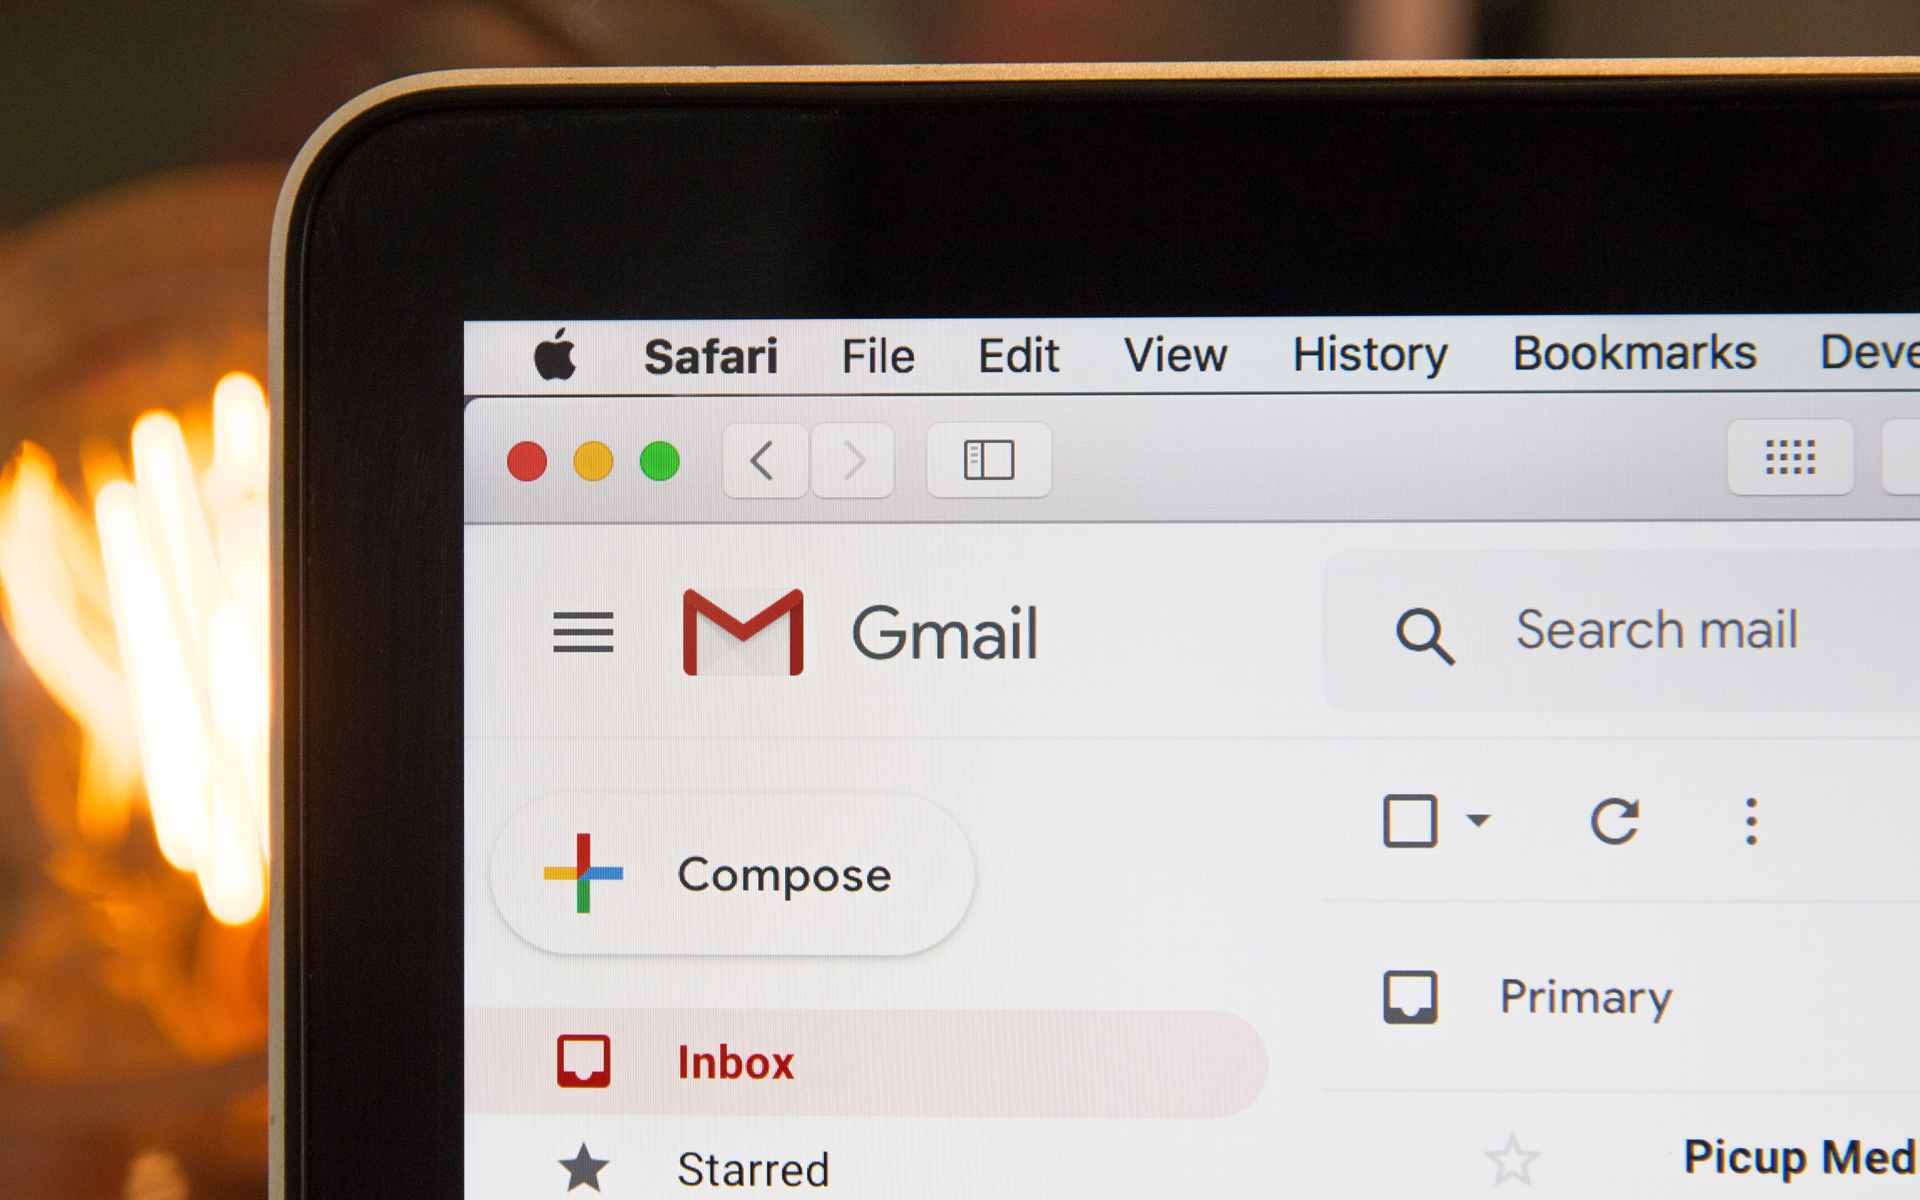
1. In our Gmail account, on the right side-up next to the email address, we click on the link Settings.

2. In the menu “Settings” We click on the link “Labs“.

3. In Gmail Labs We are looking for and ticks “Enable” for Inserting images. Click “Save Changes” After we tick the option.

4. Now we can send images / pictures in the content of the message, without having to use “Attach a File”. Click pe “Compose Mail”, and in the editor bar we will notice that the option has appeared “Insert Image” (see the first screenshot).
After we click on “Insert Image”, a dialog box will open in which we have the option of insert a picture from our computer, or a picture at a web address. If we want to insert a picture from our PC, we leave the option tick “My Computer”, then click “Choose” to open Windows Explorer.

5. Select the POA from the computer, then after the upload, click OK to insert it into an email.

6. Once inserted in the content of the message, we have the possibility of mari, decrease And to position the picture as we want.

7. Send. The message with the picture inserted into the body of the message (Body Email Message) has been sent.
Here's what the message at the recipient looks like:

Insert Pictures / Images in Gmail Body Message – Gmail Labs.
You may also be interested in...
