How can we migrate a Windows system from HDD to SSD without reinstallation
Many users Windows prefer to hold the operating system installed on one SSD (Solid-State Drive) to ensure a better speed its and a higher resistance (on their own, considering that The SSDs resist Very good at SHOCKS or extreme temperatures). Also, the advantage of an SSD also translates through a Higher Lappered Battery Life (cu about an hour more unless a use is used HDD normal). If you want to replace (at least as regards drive-ul on which the operating system is installed) HDD-ul computer with one SSD, but you would rather not have to Reinstall Windows, in the instructions below you will find How can you migrate the operating system on the hard-drive on SSD, without having to reinstall it.
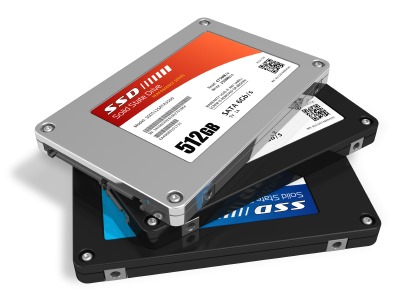
First of all, it is necessary Hard-disk defragment and Creating a backup of data on it (personal data such as documents and audio files, Photo or video save in the user folder, pe MAINTAINED), which you will then delete from the drive on which the system is installed, to reduce as much as possible System folders' dimensions (You will transfer back to HDD after the system migration). Then you need the program EaseUS Todo Backup, and obviously a SSD (As a size/space, you should orient yourself according to the current size of system partition; Do not limit yourself to a dimension equal to the folders of the operating system, considering that in time you will do update-uri To this, to which will be added various other files).
Download EaseUS Todo Backup Free.
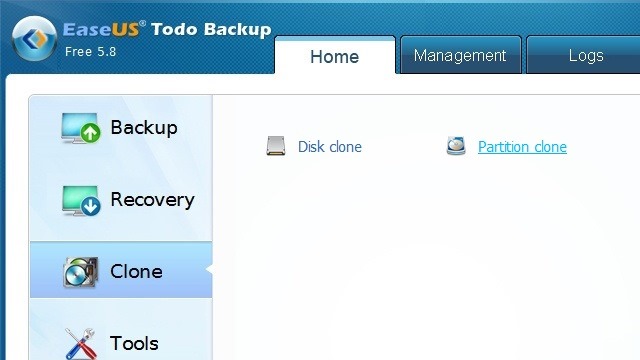
- After you have left on MAINTAINED (the one on which it is installed WinXP) only Folders What its files contain (ie system files), launch the application EaseUS Todo Backup and click on the option Clone available in the left panel, then on Partition clone
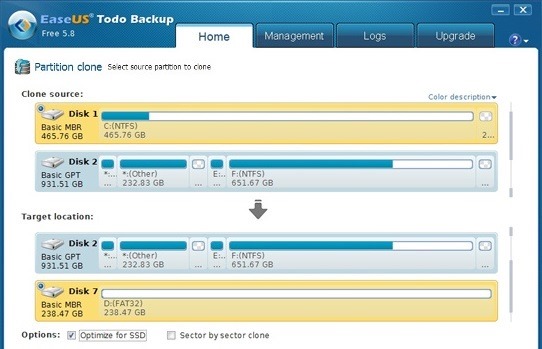
- Select The partition with the operating system on the HDD ca source, again SSD-ul Select it as target (Before you click on Next, make sure you ticked the option Optimize for SSD, to obtain a performance the best of the SSD after the migration of the operating system)
- Easeus will start Windows migration on HDD on SSD; Check the option Shut down the computer when the operation completed
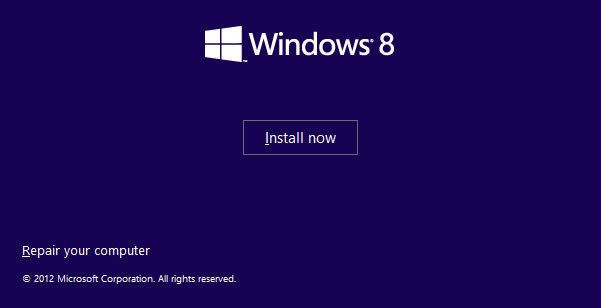
- after the migration process of the operating system is completed, use a Installation DVD its repair the bootloader on SSD (Use the option Repair your computer, then select the SSD system, open Command Prompt ca recovery tool and type commands bootrec /fixmbr and bootrec /fixboot)
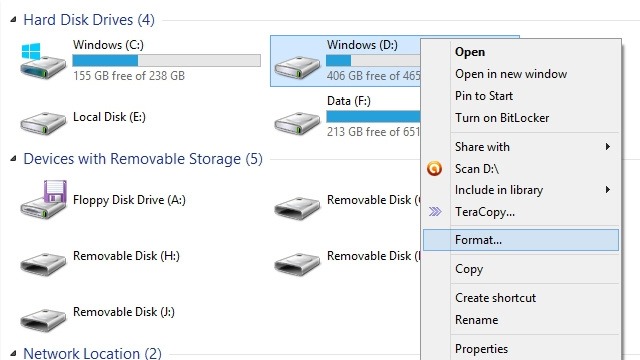
- Boots Windows on SSD, then open an Windows Explorer, select partition with the system on HDD (PA partition that you have migrated Windows on SSD) and Format it
- Move the location of default folders din User (My Documents, My Pictures, My Music, My Videos) pe newly formed partition (created new folders with the same name On that partition, then go to SSD in the folder User, right -click on a folder default, for example My Documents, and select Properties > Location > Move and browse to the new folder My Documents created on HDD; Repeat the operation For each folder default)
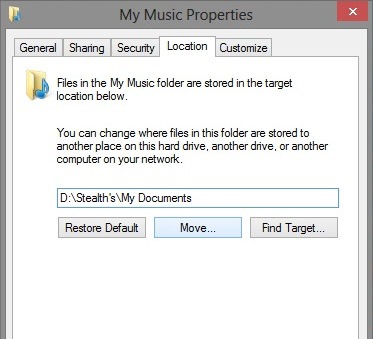
- then Transfer your personal data (from the backup created before migration) in the default folders of the user created/located on HDD. This way you will ensure that you will be able to access your personal data using Shortcuts from Explorer Or from the desktop, but they will not occupy precious space on SSD.
Finally, run again Windows Experience Index, in order to Identify SSD as a system drive (taste windows experience in Start Menu or Start Screen, click on Check the Windows Experience Index, then on Re-Run Assessment).
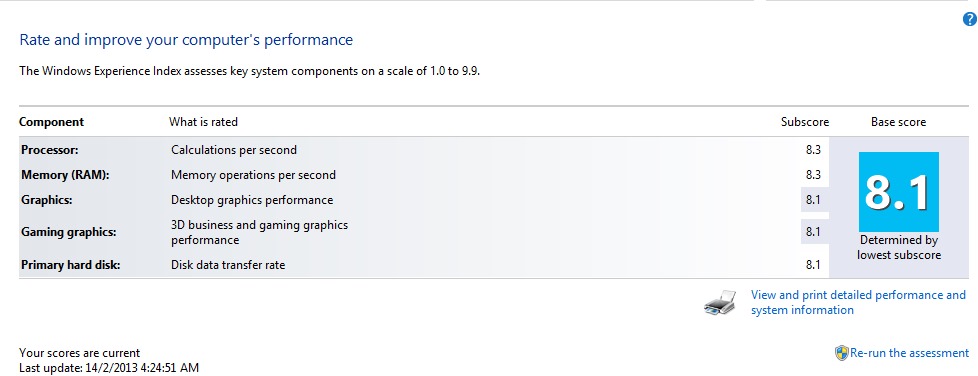
And ready. Following step by step the above instructions you will be able to Transfer the operating system from HDD to SSD without having to reinstall windows. Succes!
STEALTH SETTINGS – How to migrate Windows from HDD to SSD without reinstalling it
How can we migrate a Windows system from HDD to SSD without reinstallation
What’s New
About Stealth
Passionate about technology, I write with pleasure on stealthsetts.com starting with 2006. I have a rich experience in operating systems: Macos, Windows and Linux, but also in programming languages and blogging platforms (WordPress) and for online stores (WooCommerce, Magento, Presashop).
View all posts by StealthYou may also be interested in...


One thought on “How can we migrate a Windows system from HDD to SSD without reinstallation”
Thank you very much for the recommendation! Last time I moved the operating system from a hard drive to a larger SSD, I used the system migration function in Renee Becca. Through this software, I quickly completed the transfer of the operating system. After the migration was completed, the SSD started up successfully immediately! The entire system migration can be completed with a simple click.