Kiosk Mode in Windows 11 is one of the least known features, but very useful in many scenarios. Through Kiosk you can create a user with limited access to the use of a single application. Single-app.
content
What it is and how you activate Kiosk Mode in Windows 11, you will know step by step in this tutorial.
What is Kiosk Mode on Windows 11?
As I said above the Kiosk mode helps you add on Windows 11 a user with limited access to the use of a single application. The mode is ideal for a presentation computer in a store, in a school or any other environment, where limited access is needed.
How do you create user with limited Windows access with Kiosk?
To create a user with limited access on Windows 11, follow the steps below:
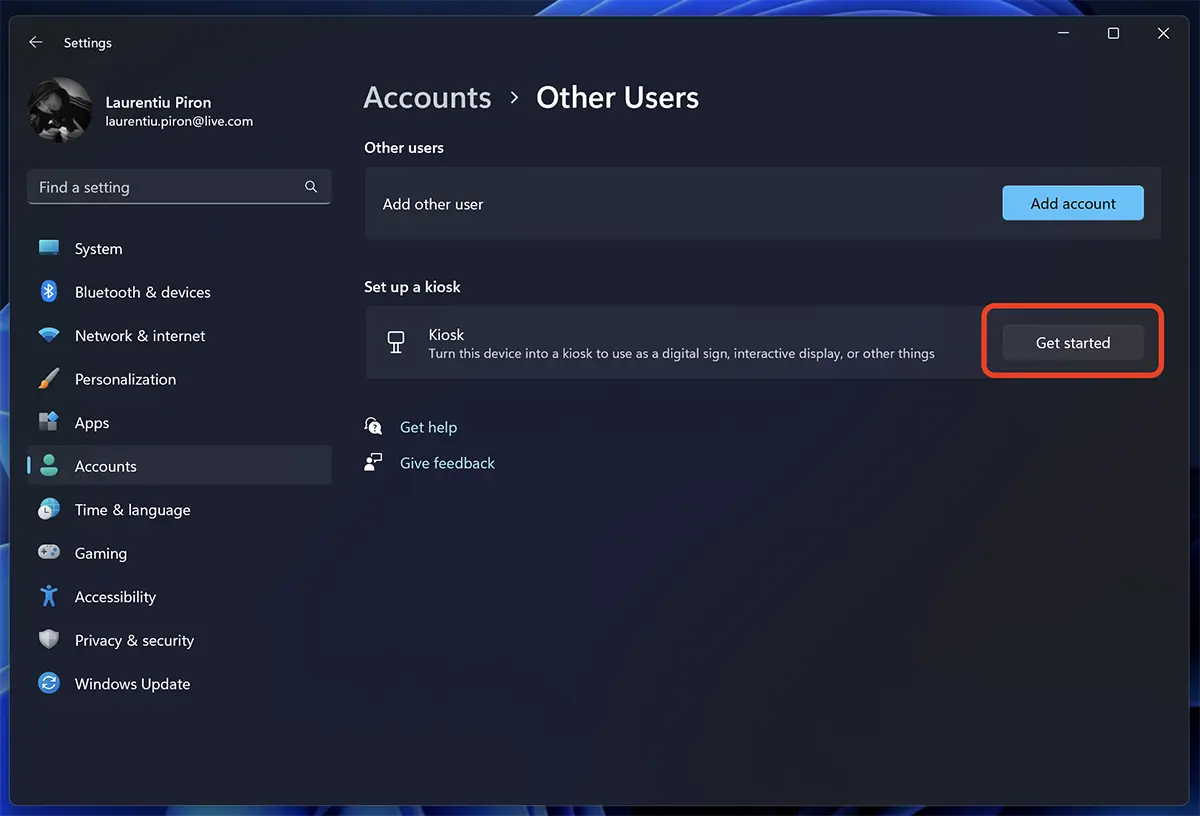
1. Open Settings in Windows 11 and go to the left side to Accounts, then to Other Users.
2. In Other Users, click on the button “Get started” from below “Set up a kiosk“.
Turn this device into a kiosk to use as a digital sign, interactive display, or other things.
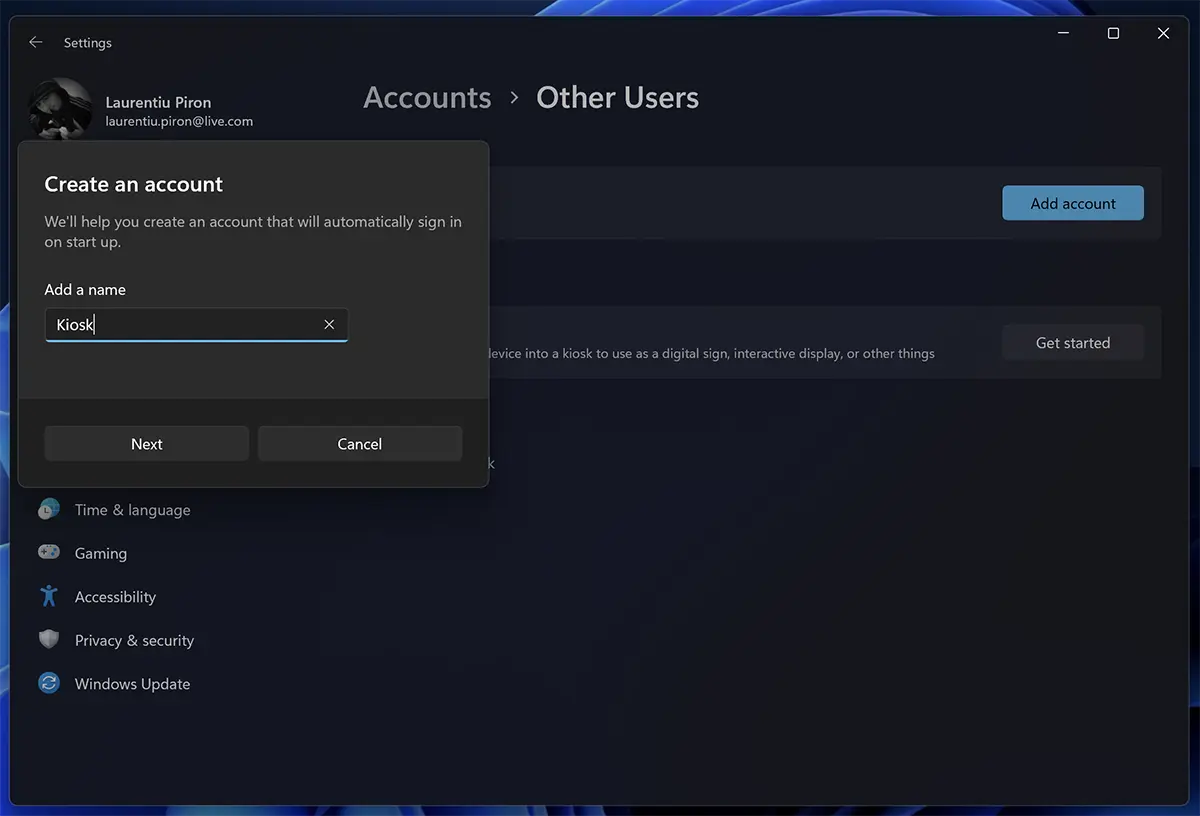
2. Enter a name for the new user with limited access, then click “Next”.
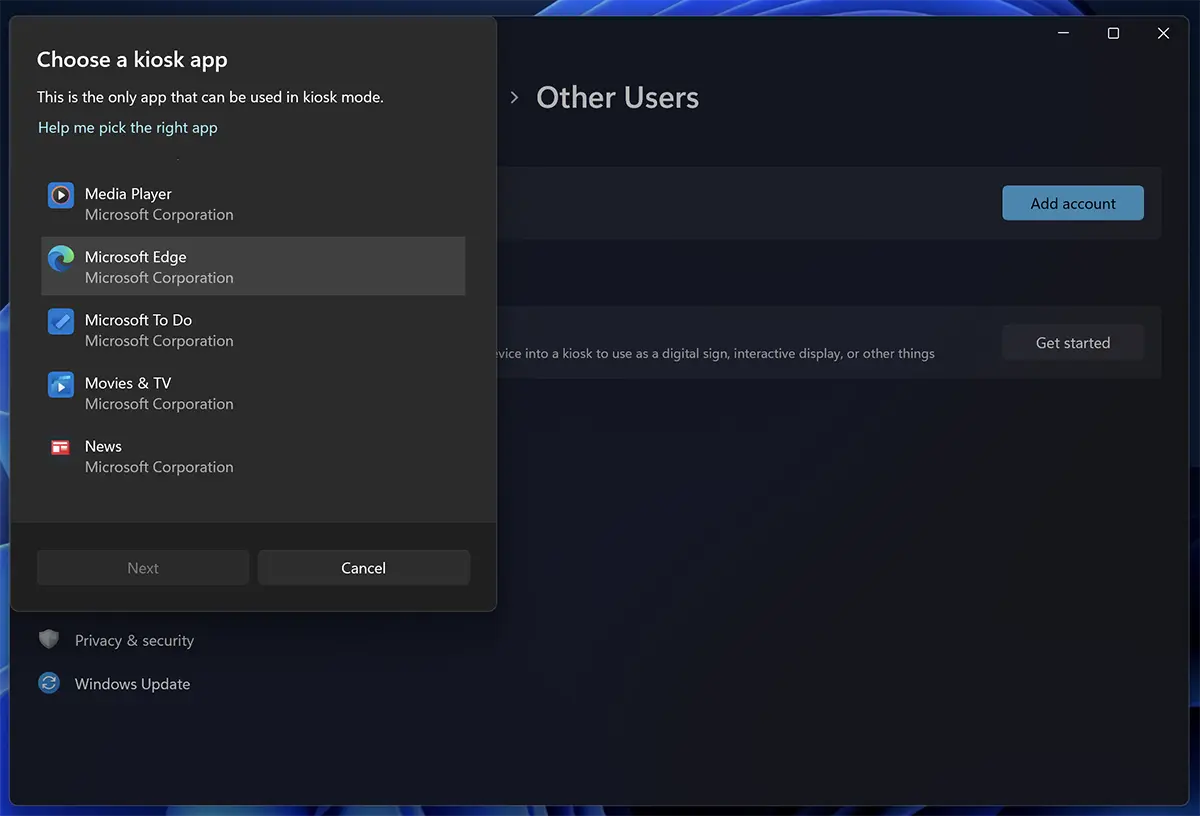
3. Select an application to which Kiosk user receives access. Only this application can be accessed by this limited user. It will not have access to system settings, files, desktop or other options.
4. For each application chosen by you, in Kiosk mode there are some specific settings.
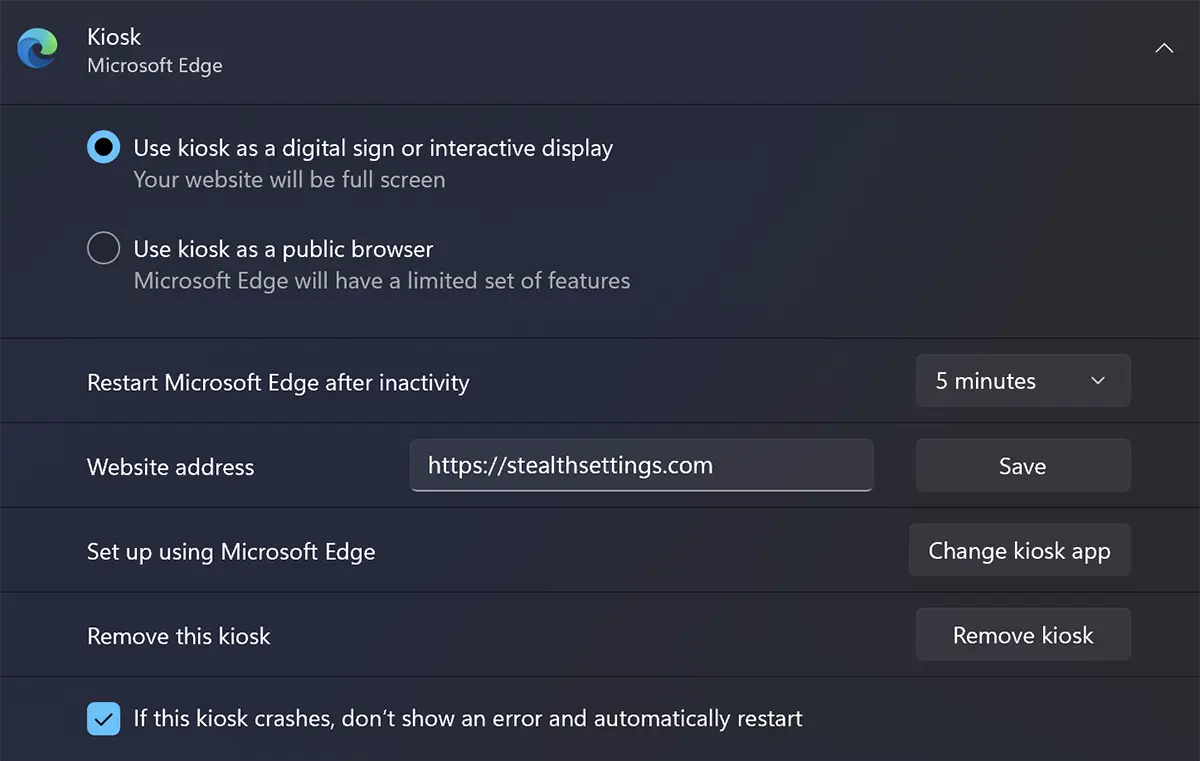
I chose for this tutorial access to Microsoft Edge, to open in Full Screen with a web address indicated by me.
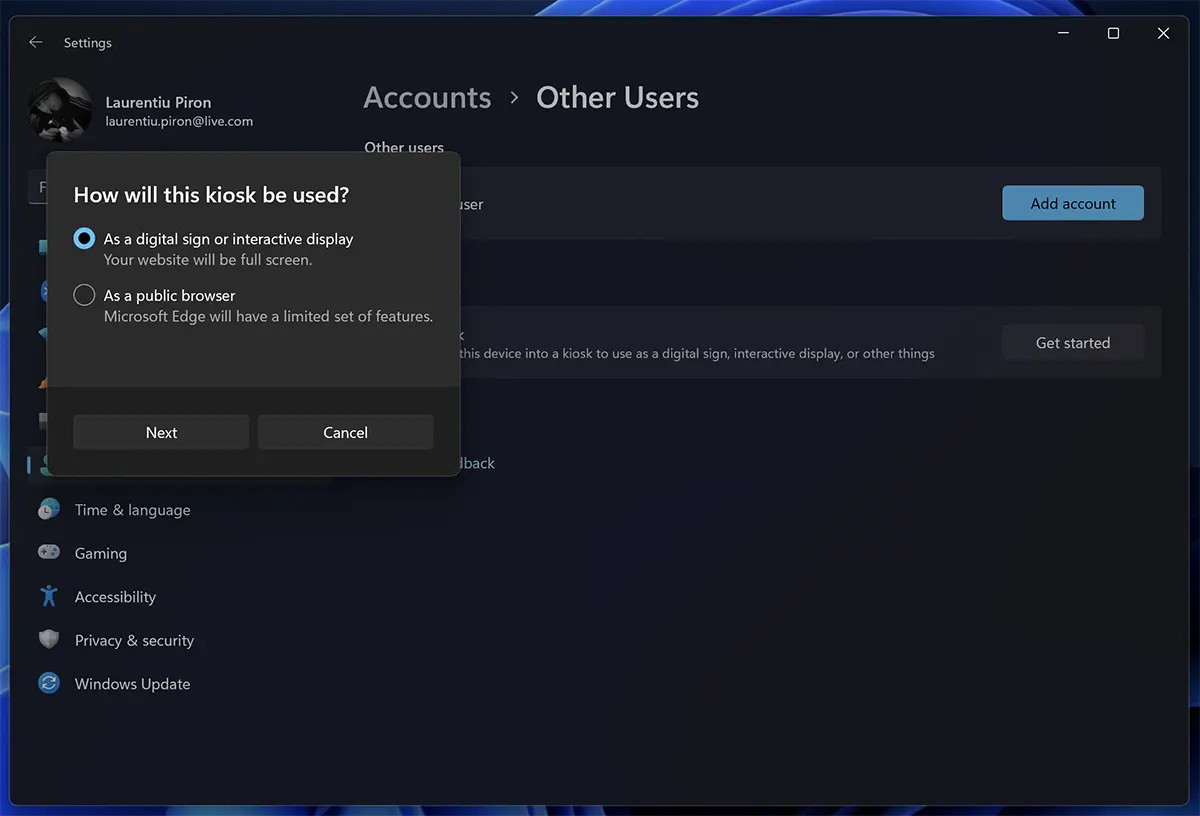
You can choose and “public browser” With limited access, but in which the user can browse other web pages and will access some browser options.
Choose the web address to open in the browser, immediately after authentication with user Kiosk.
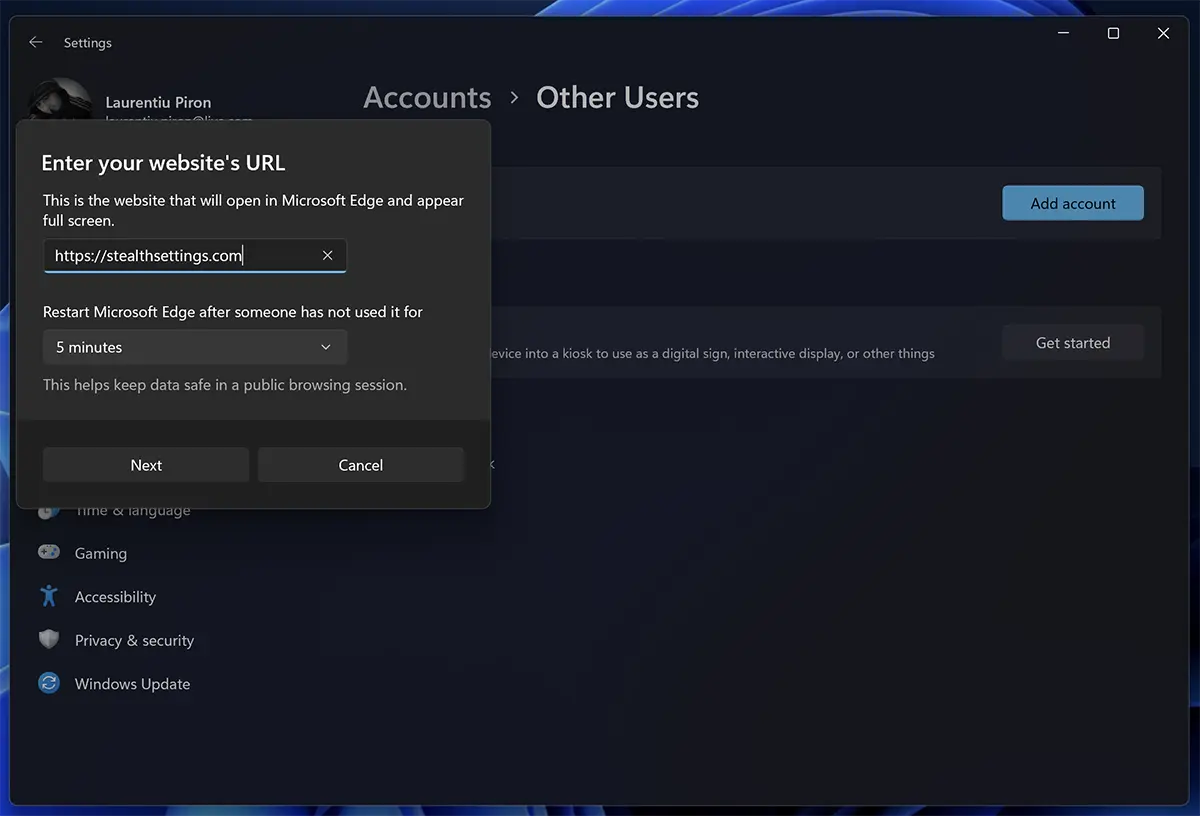
Here you can also put the condition for the browser to restart after a time of inactivity. This function is very useful for presentation in a physical store, where you can set the web address of the store.
Visitors can browse in other pages of the website, but after 5 minutes of inactivity will return to the web page set in settings.
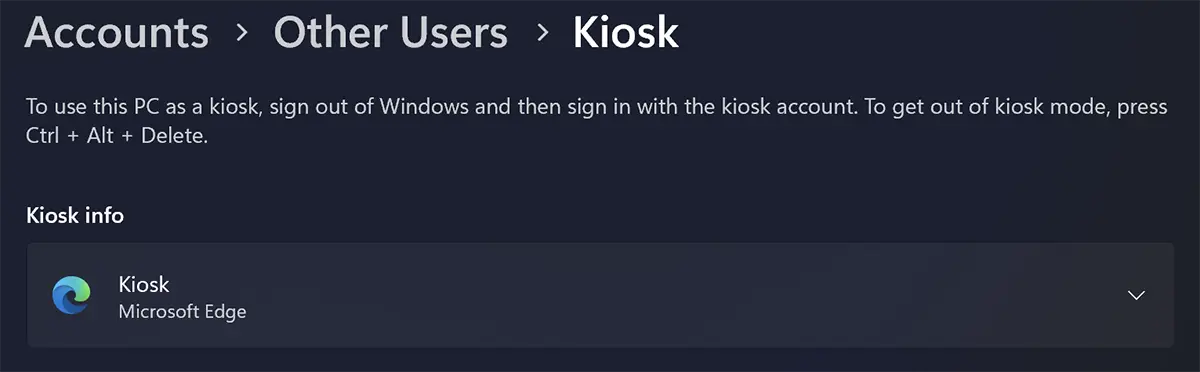
After this step the new user “Kiosk” was added with access to the selected application by you.
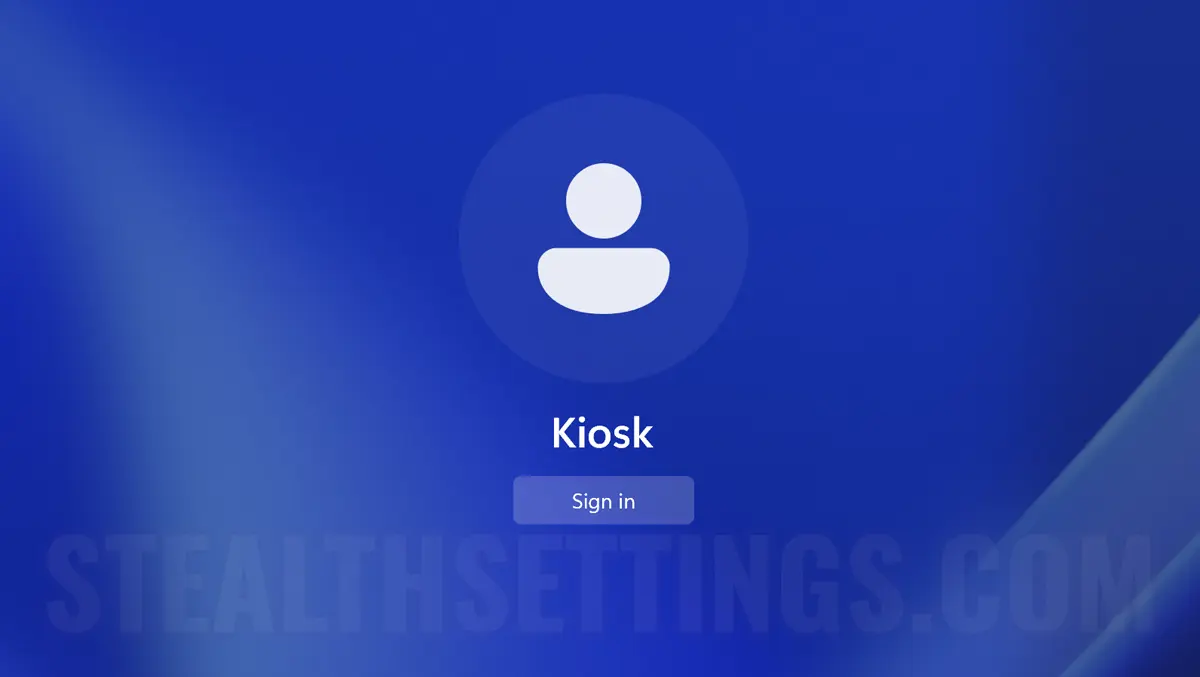
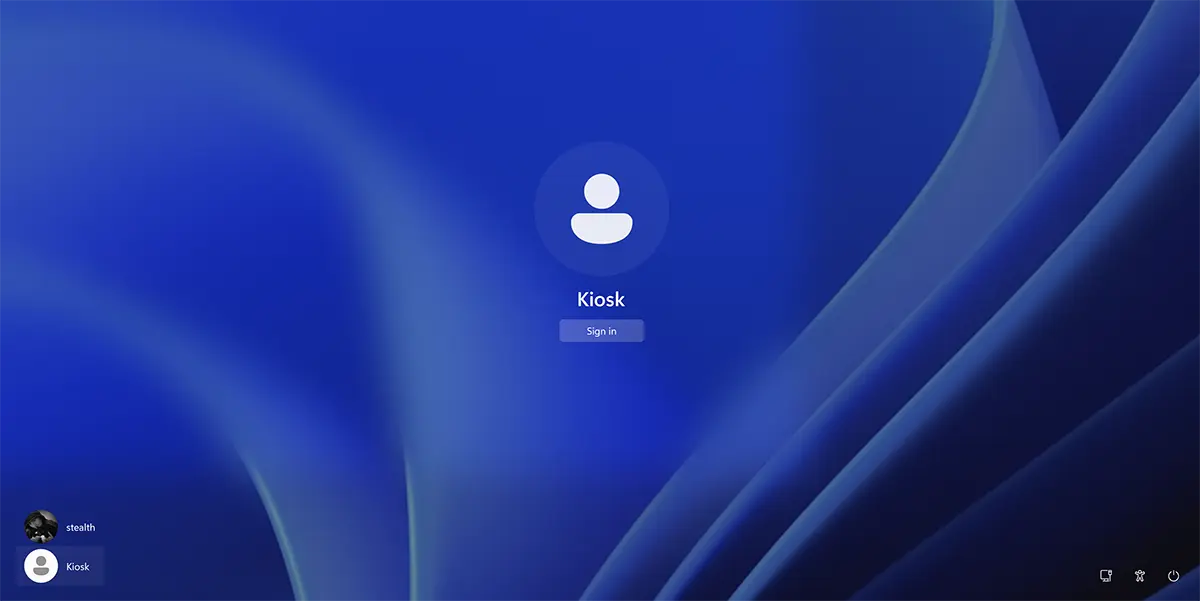
Now you can authenticate in Windows 11 with the new user.
This way you created and configured Kiosk Mode in Windows 11 for the Microsoft Edge application.
After the authentication, Microsoft Edge will be opened automatically with the web page indicated in the above settings.
The exit from Kiosk Mode will be done by simultaneously pressing the keys Ctrl + Alt + Del.
How do you delete your Kiosk account or how do you change your access application or application?
To change or delete your Kiosk account on Windows 11, you must be authenticated on the administrator user (the user from which the account was added) and go to: Settings → Accounts → Other Accounts → Kiosk.
Remove kiosk, for disabling and deleting user with limited access.
You may also be interested in...

One thought on “Kiosk mode in Windows 11 – User with limited access”
I managed to create a kiosk account, but could not enter