
Each of us at least once needed to make a schedule, develop a work schedule or align some words on lines and columns. In the following we present the initial stages needed to build a table in Word.
from Toolbar We select the tab Insert table and we select with the mouse the number of lines and columns necessary, or we access Table the function Insert Table.

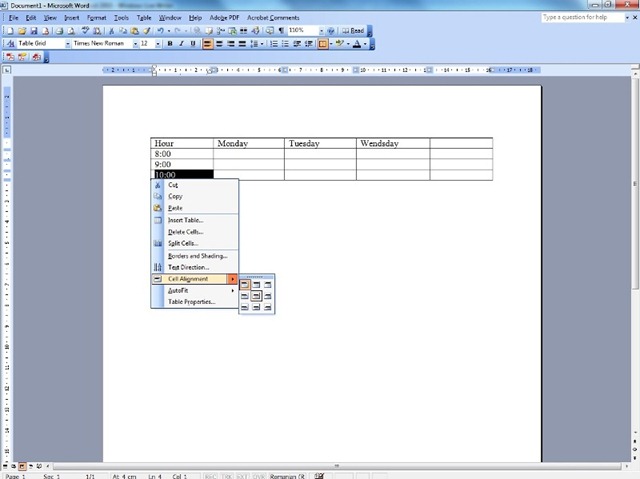
After selecting the number of lines and columns of the table, you can enter the text from the table which can be aligned both horizontally (left, right, center), as well as vertical, compared to the cell in which it is located. This is done by carrying the cursor to the bottom left of the cell until the Word edit cursor turns into a black arrow, then we access the right Cell Alignment, from which we can select the position of the text to the edges of the cell.
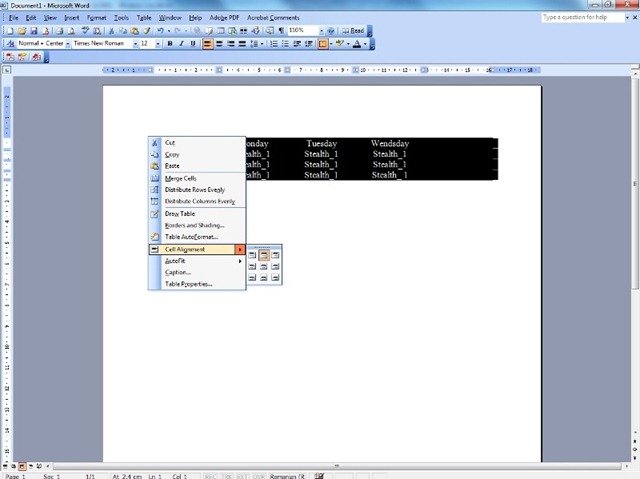
If we go with the mouse on the top of the table, a cursor will appear that will select the whole table and by the right click a menu will be established from which the position of the whole table can be established, new lines or columns can be inserted, two or more cells between them or the table can be divided into lines or equal columns.
Columns and lines in the table can be introduced by selecting with the mouse over the column or on the left of the line.
You may also be interested in...
