If you have given up on XP in favor Windows 7 But "swim" in nostalgia for your old operating system, you have two possibilities handy to avoid "drowning" from too much "swim" :). The first of them would be to opt for a dual-boot Windows 7/XP (sau XP/Windows 7…) and the second, recommended by us, is to install Windows XP Mode In Windows 7 (two of the greatest advantages consist of the fact that You don't have to restart your PC to change the systems And neither You don't have to share your HDDs between the two OSs).
How can we run Windows XP Mode on Windows 7 Home Premium or Computers Without Hardware Virtualization
Windows XP Mode can be installed including on computers not hardware virtualization or on versions Home Premium, but they cannot run Virtual PC. VMware Player It's O Free application (But to be able to download it You need to register on the official website. Or, if you want to avoid registration, try stream) that allows you to run Windows XP Mode on your Windows 7 system (regardless of version) or your computers that lack the hardware components for virtualization.
*Step 1.
For the beginning you have to Download and install Windows XP Mode.
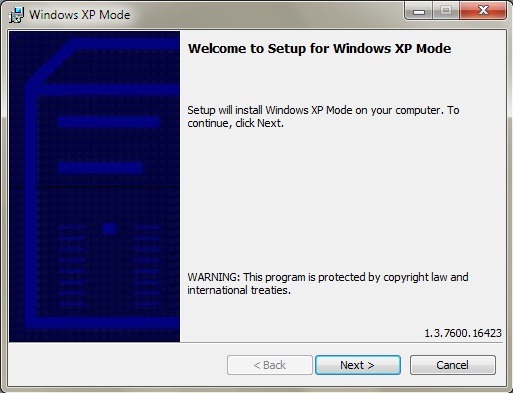
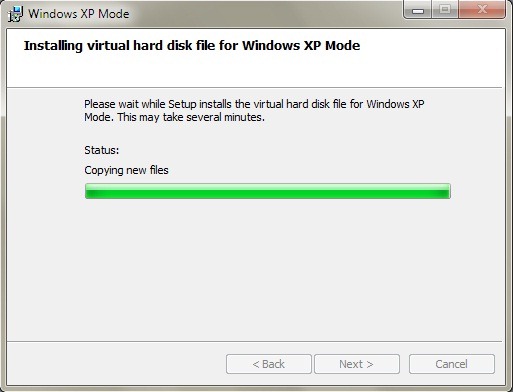
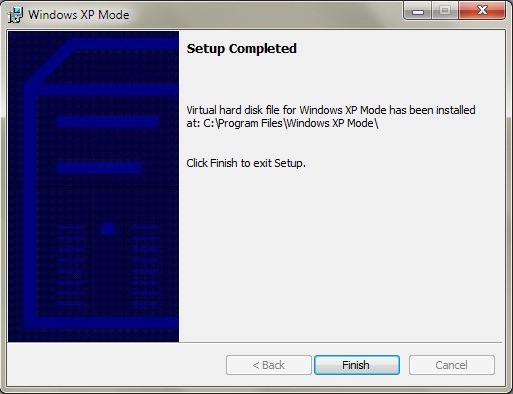
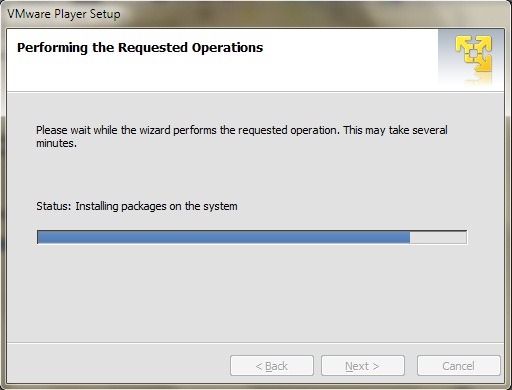
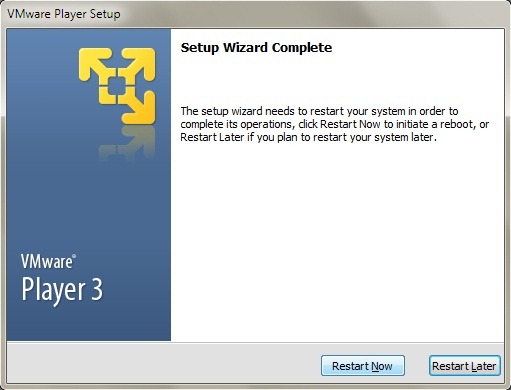
Then Download and install VMware Player.

*Step 2.
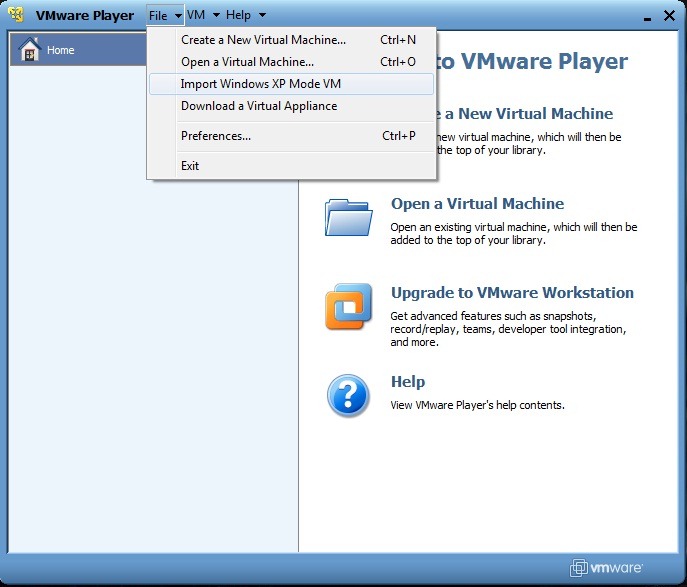
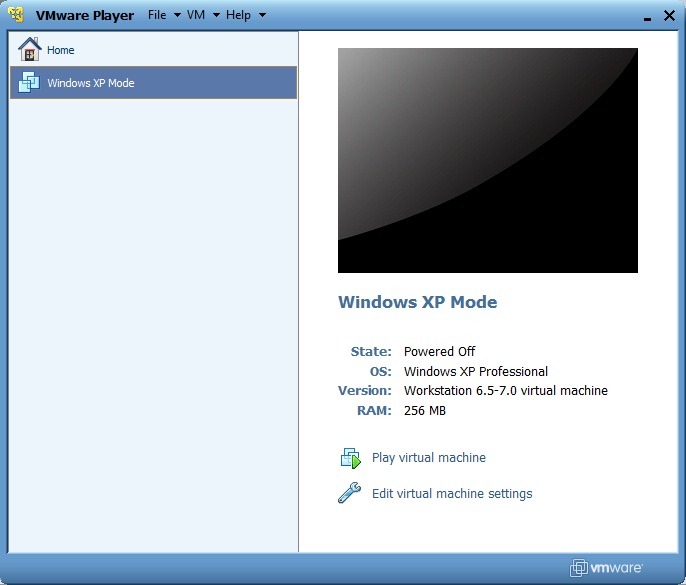
Imported Windows XP Mode Virtual Machine in VMware Player (clik pe File In VMware Player, and select Import Windows XP Mode VM from the displayed menu).
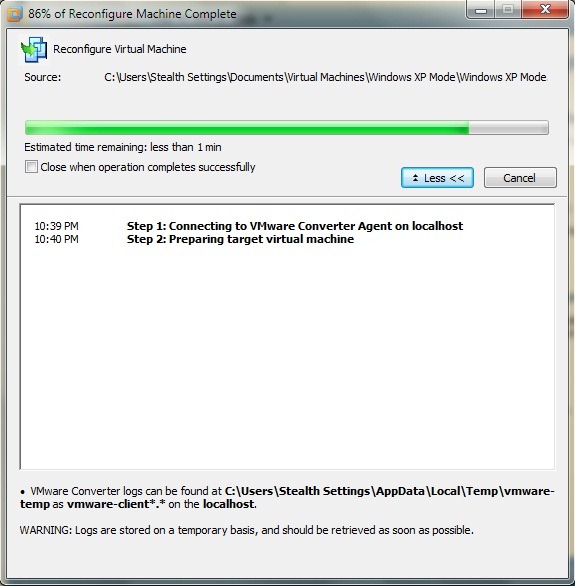
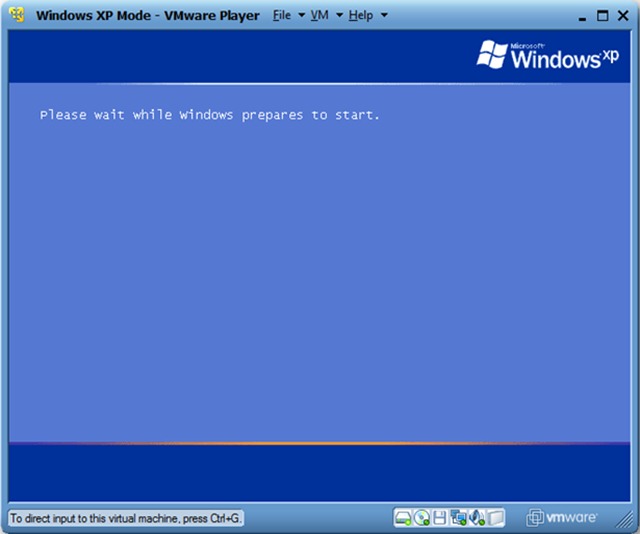
Windows XP Mode reconfiguration (conversion in VMware Player format) can take a few good minutes, so you will have to have little patience. When this is complete, you will be able to see the XP Mode VM option in VMware Player. Click on Play virtual machine to run XP setup.
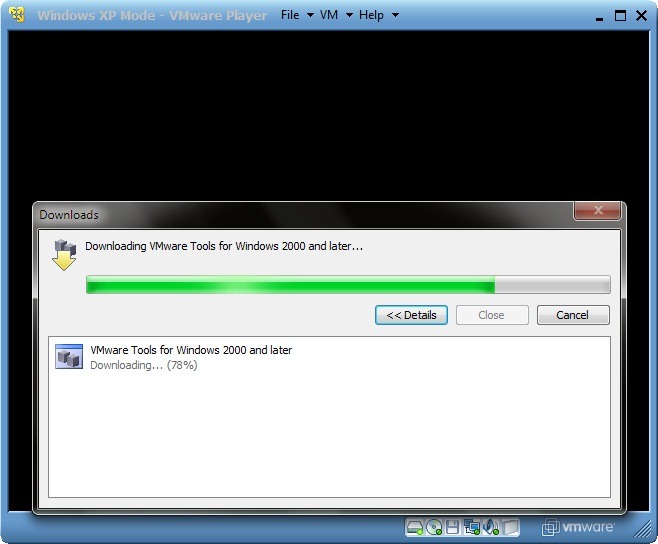
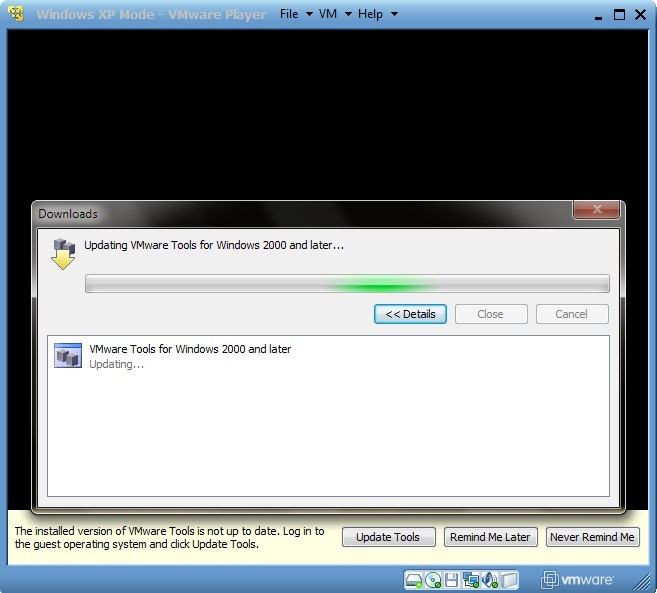
During the display of the Setup screen, you will be asked to Download and update WMware Tools, necessary for integrating Windows XP Mode in Windows 7.
*Step 3.
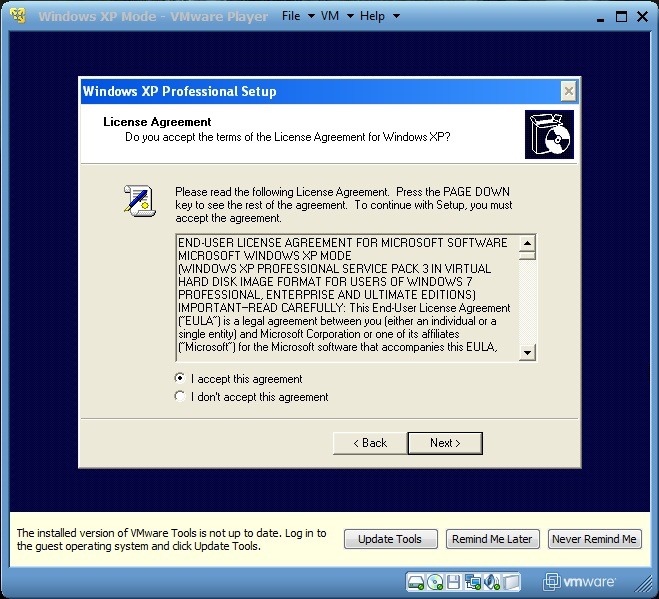
During the setup running you will need to make some settings depending on your preferences and location. For starters select “I accept this agreement” and click on Next. Then select Settings for language/region and keyboard.
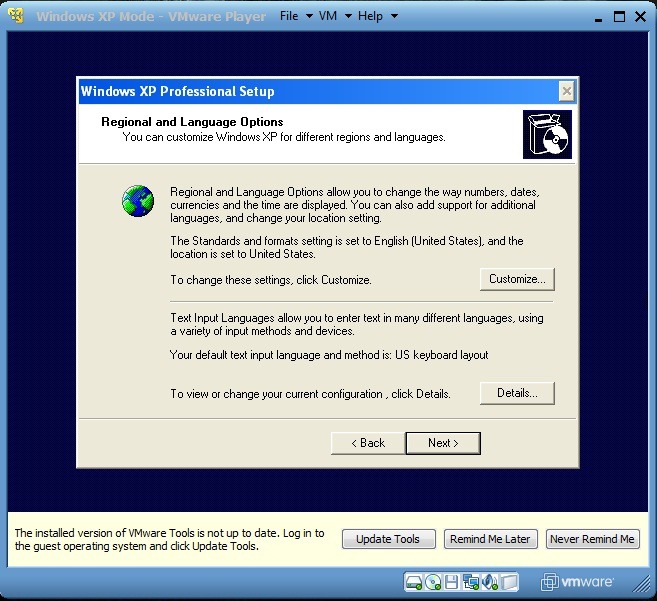
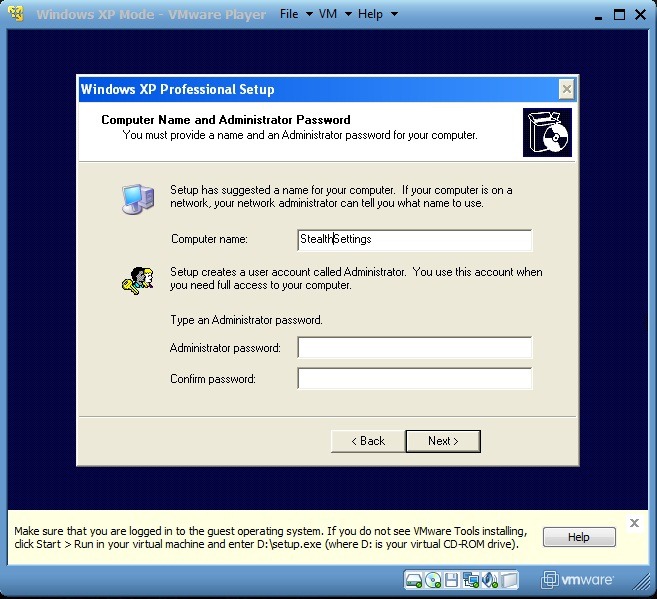
Choose a name for XP Mode VM si, optational, of administrative nonsense (It is not mandatory to fill in the password fields. If you complete them, be careful Write down your password or choose something you can remember, because you will not be able to access xp mode without that password. Leaving the fields for the blank password allow access to XP mode of any user with access to Windows 7). Then select now it dates in which you are in and Time Zone (time zone).

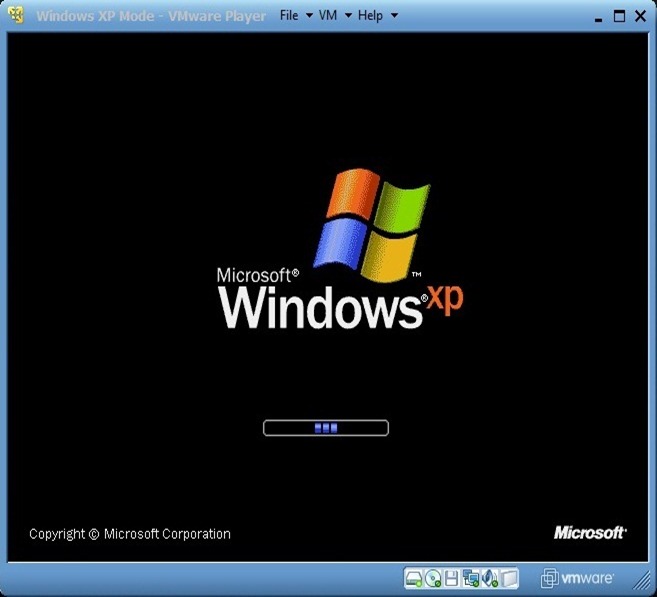
After the settings/changes are completed, Windows XP Mode VM will be restarted (main operating system, Windows 7, will not be restarted, relax!: P).
*Step 4.
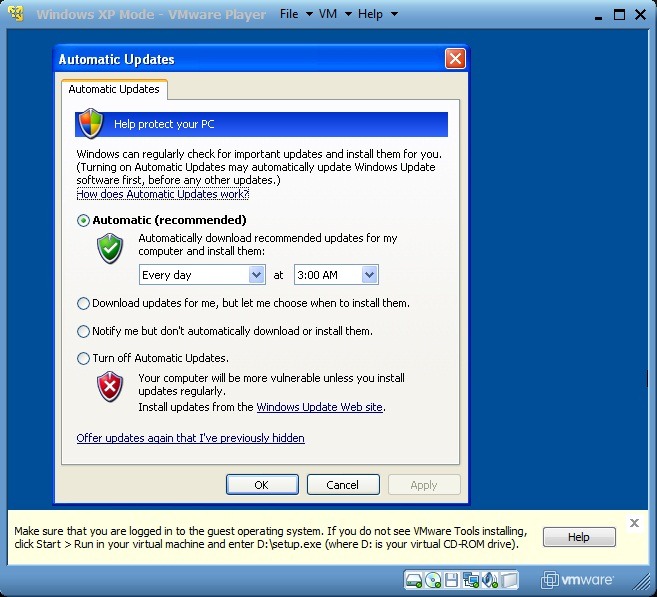
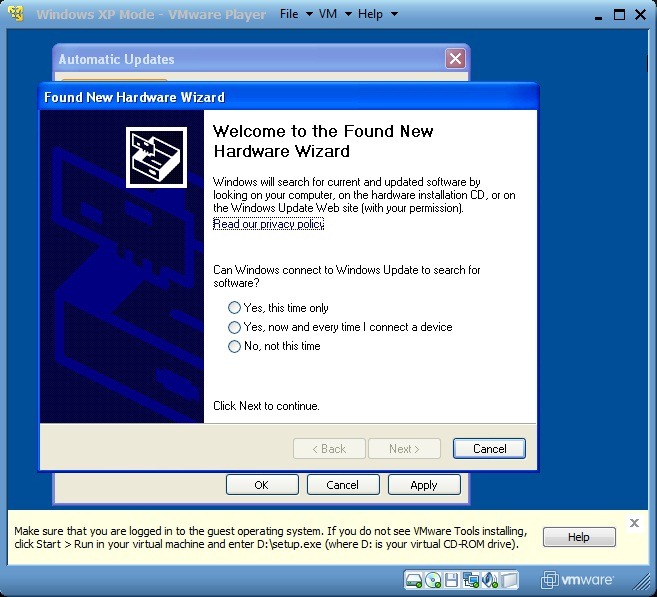
After Restart, select the settings for system updates. Most likely you will be jam by one pop-up (Found New Hardware Wizard) which will ask you to look for new hardware components or new drives. Given that Vmware Tools contains everything you need, it is preferable to click on the button Cancel.
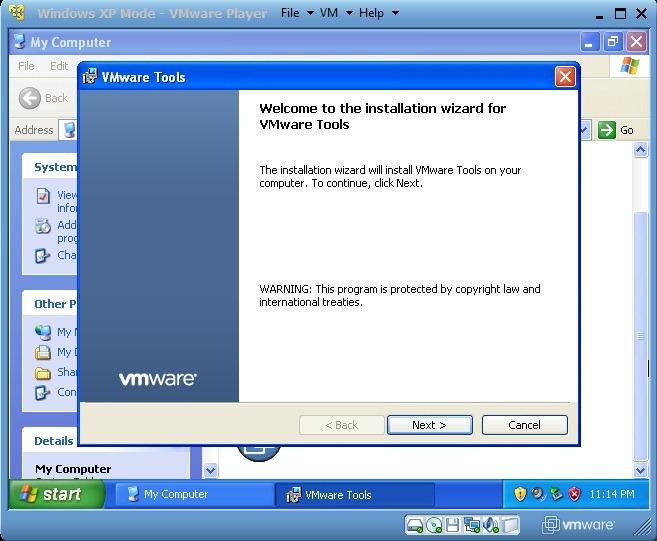
After a new restart will have to Install VMware Tools. Go in My Computer (In XP Mode, click on Start and select My Computer) then give double-click on VmWare Tools (D:) and run installer displayed. After Vmware Tools is installed, XP Mode will restart again.
*Step 5.
Windows XP Mode integration into Windows 7 It has a major advantage for users who have chosen to use these two systems together: you can run at the same time compatible programs with XP or Windows 7, you can give copy/paste From one system to another, you can save the files on both systems in the same folder or you can open files from the same folder in both systems.
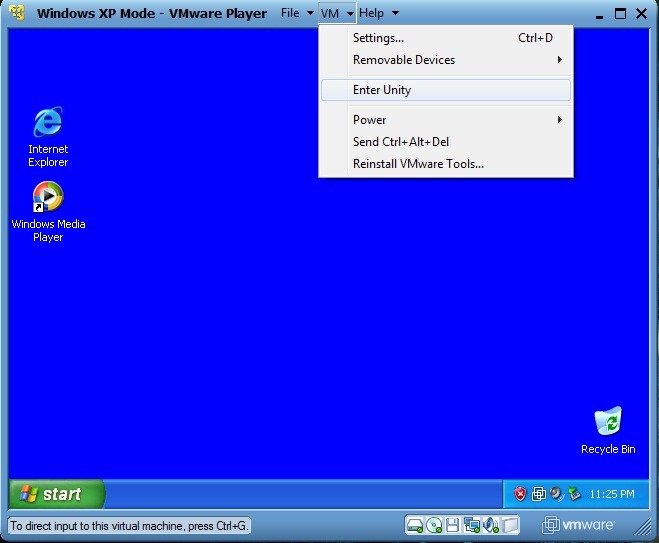
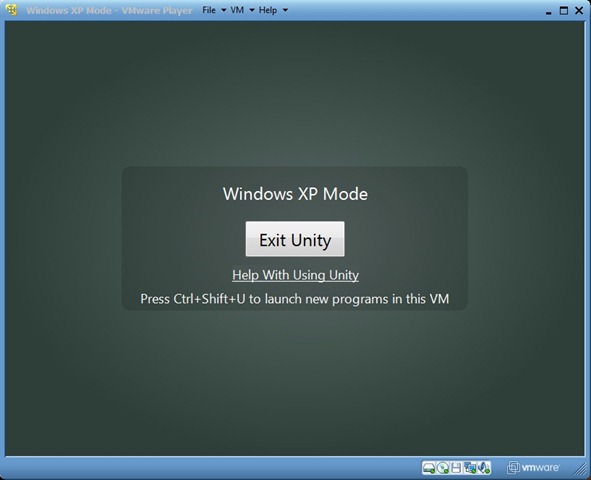
To integrate Windows XP Mode in Windows 7 Click on VM and select Enter Unity from the displayed menu. For revocation, click on Exist Unity In VMware Player (closing VMware Player, close Windows XP Mode).
To access Windows XP Start Menu After integration in Windows 7, it is enough to go with the mouse (more precisely CURSOR mouse) over Windows 7 Start button. A new button, Windows XP Mode, will appear above it. Click on it and XP Start Menu will be displayed.

*Step 6.
To save the files opened/created in XP Mode in Documents in Windows 7 follow the instructions:
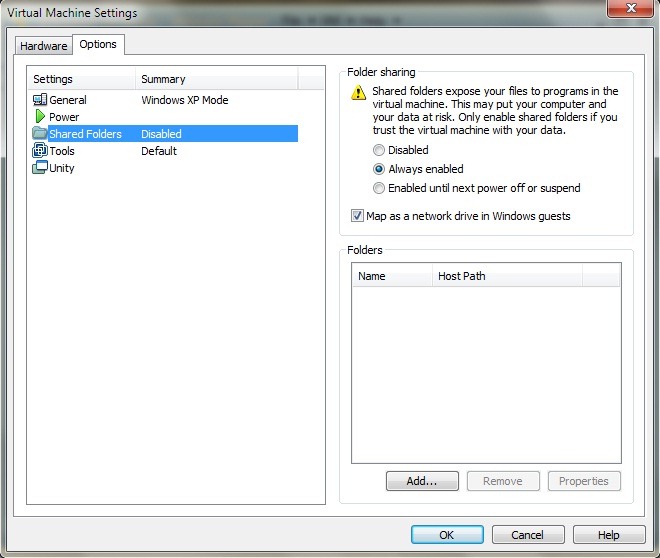
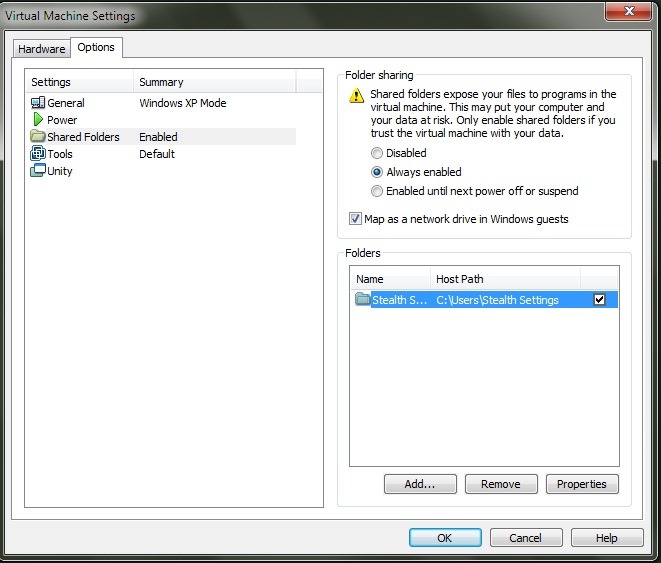
- click pe VM and select Settings. Go to the tab Options and click on Shared Folders. In the right panel select Always Enabled, tick Mark as a network drive in Windows guests Then click on the button Add… from the right-hand right. It will open Add Shared Folder Wizard: click pe Next then Browse And select the folder you want to share from the displayed list (it is recommended to select the folder Documents. In my case, I chose the folder Stealth Settings with all his sub -tears - implicitly and documents). check Enable this share, then click on Finish. In the window of Settings Click on OK.


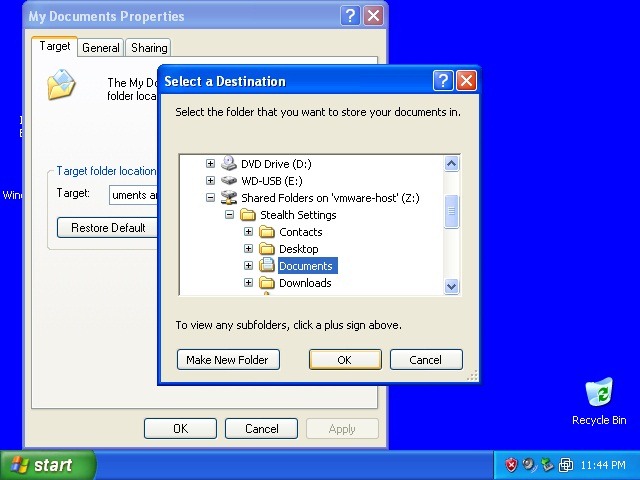
- open Start Menu in XP Mode and click-right click on My Documents. In the displayed menu selected Properties. In tab-ul Target Click on Move… To select the destination, click first on My Computer (for expanding), then on the drive Shared folders on “vmware-host” (Z:) and select the folder Documents (In my case I opened the Stealth Settings folder and then selected the Documents folder). Click OK.
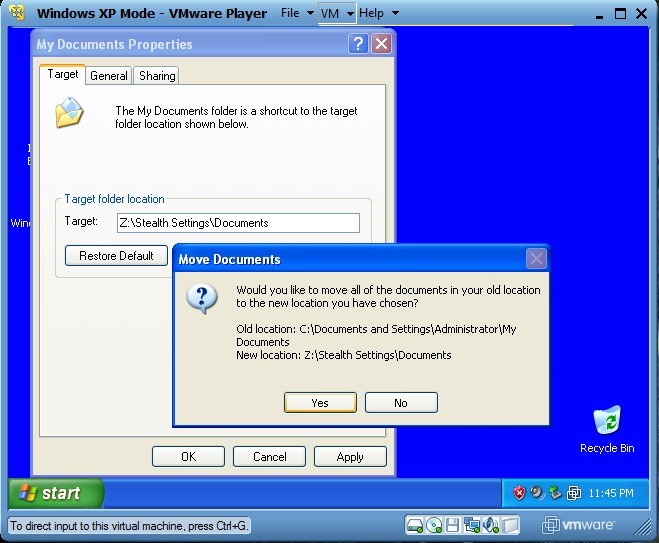
- To ensure you will have all the documents in XP Mode in Windows 7, click on Yes in the confirmation window that will appear on the monitor.
After performing these settings, how many times you will save a file in xp mode, it will be saved in Documents in Windows 7. You can repeat the above instructions for any folder you want (eg My Pictures, or even your user's folder)
*Step 7.
Whenever you connect an USB stick or a hdd extern At the computer, VMware Player will announce that you can connect that device to XP Mode. To make it possible to connect external HDDs or USB sticks (removable drives) at Windows XP Mode, click on VM, select Removable Devices, select the Drive name and then click on Connect (Disconnect from host).

Applications or folders opened in XP Mode (when it is integrated in Windows 7) will, by default, have The border and the VMware Player logo in the top bar of windows. To get rid of the "virtualized" look click on VM and select Settings. In tab-ul Options Click on Unity And you will dismiss Show borders and Show badges.

In this way the windows opened in XP Mode will look exactly the same as the windows open in a Windows XP operating system.
Download Windows XP Mode from Microsoft website.
Download VMware Player (compulsory registration).
You may also be interested in...

22 thoughts on “Install XP Mode in Windows 7 without using Hardware Virtualization [How to Tutorial]”