Cum putem activa Transparenta completa in Windows 7 [Fully Clear Transparency tip]

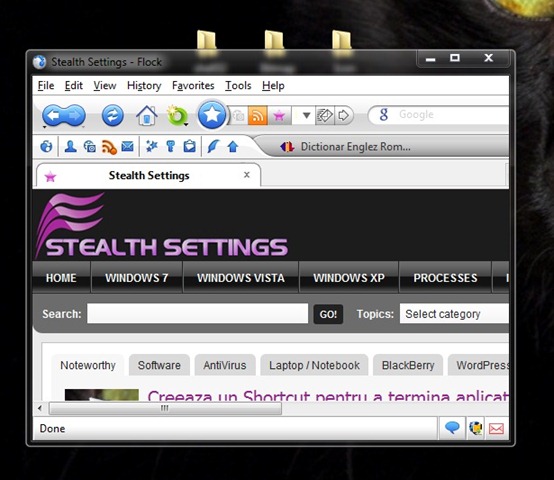
Transparency In Windows 7 it is activated immediately after installation (if the computer configuration allows this), but this transparency is somewhat blurata, that is, something like

If you want to give your operating system a complete transparency, like glass, follow the instructions in this tutorial.
Careful! In order for these (instructions) to have an effect, you must first log on to an administrator account and also have the Aero interface before going to work (Otherwise all work will be for nothing, even if you will activate the interface).
1. Download the following archive (depending on the system-on 32 or 63 bits), extract the two files and replace the original ones with them. It is absolutely mandatory that before you do this to make a back-up of system files (at least of the two that will be replaced, DWEXE and Udwm.dll).
For Windows 7 32-bit >download link<
For Windows 7 64-bit >download link<
- After diszing the downloaded files, click-right on them and select Properties from the menu

- in tab-ul General, click on Unblock then OK (If the button of Unblock No there is, means that files are already unlocked)
- open Services (taste services.msc in Search-ul FROM Start Menu Then give Enter), and temporarily turn off the service Desktop Windows Manager Session Manager

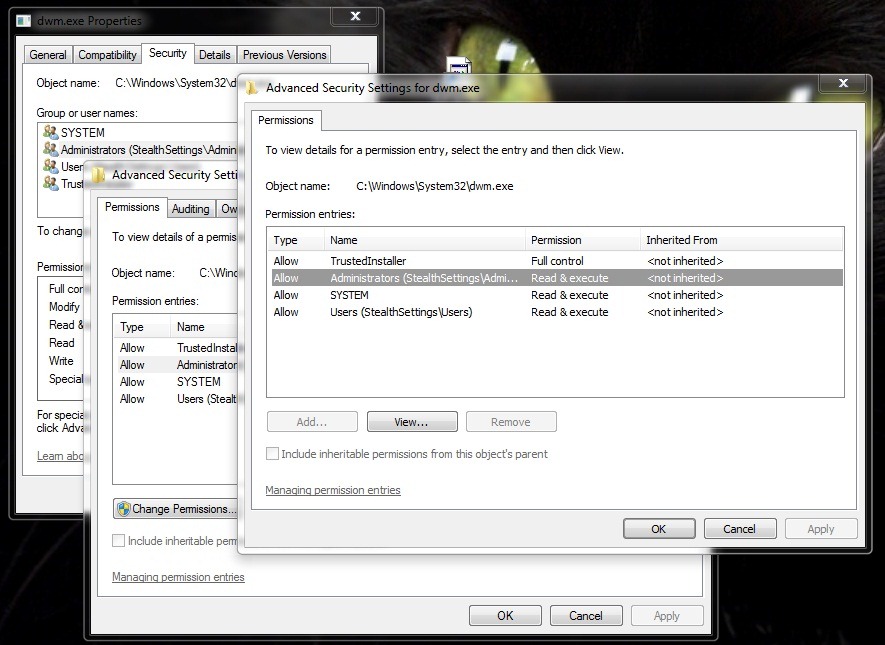
- in Windows Explorer browse the locations C:WindowsSystem32dwm.exe and C:WindowsSystem32uDWM.dll, and replace the two files with the ones you have downloaded earlier (for this to be possible, you must grant yourself full permissions on the two files - take ownership & full control). Don't forget to make a back-up Their if you want to return to the initial (blurred) transparency of Windows.

- open again services And restart the service Desktop Windows Manager Session Manager
2. If you want to activate complete transparency only for a single user, follow the steps:
- Download the next archive and extract the file .reg of this (preferably on Desktop)
Download Enable_Current_User_Full_Transparency.zip
- Click on Enable_Current_User_Full_Transparency.reg, select Merge from the menu, then click on Run (Yes->Yes->OK)
- Restart your computer In order for changes to have effect
3. If you want to Enable complete transparency for all computer users, follow the steps below:
- Download the next archive and extract the file .reg of this (all on Desktop)
Download Enable_All_Users_Full_Transparency.zip
- Click-right on the file Enable_All_Users_Full_Transparency.reg, select Merge and click on Run.
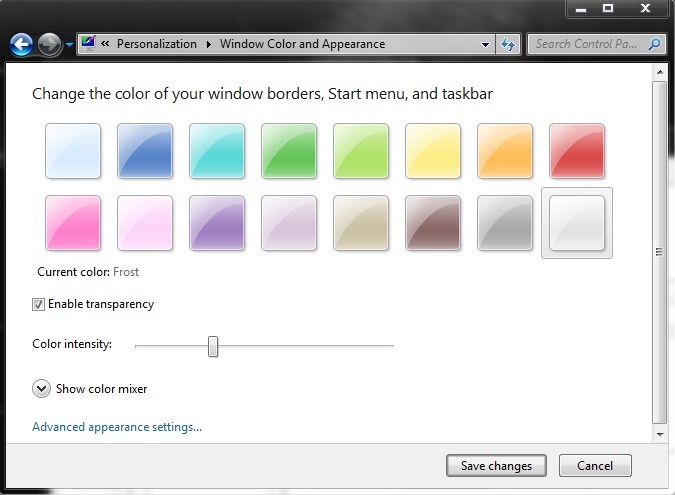
- Click-right on the desktop and select Personalize Then click on Windows Color (at the bottom of the window)
- check Enable transparency Then adjust the color intensity according to your preferences (to the right = less transparent to the opaque/to the left = more transparent or completely transparent) and click on OK

- Restart your computer
If you want to Disable complete transparency, use the files below:
Undo Current User Full Transparency
or
Undo All Users Full Transparency
Enjoy!
Notes: Complete transparency will not have an effect on taskbar. Be careful to make a back-up of the registers before using the .RIG files above. In case you activate the complete transparency for all the computer users, on the user on which the activation is made will no longer need to activate/adjust the transparency from the Panel - personalize control. Only the other users will have to follow the respective instructions. Success!
Cum putem activa Transparenta completa in Windows 7 [Fully Clear Transparency tip]
What’s New
About Stealth
Passionate about technology, I write with pleasure on stealthsetts.com starting with 2006. I have a rich experience in operating systems: Macos, Windows and Linux, but also in programming languages and blogging platforms (WordPress) and for online stores (WooCommerce, Magento, Presashop).
View all posts by StealthYou may also be interested in...


One thought on “Cum putem activa Transparenta completa in Windows 7 [Fully Clear Transparency tip]”