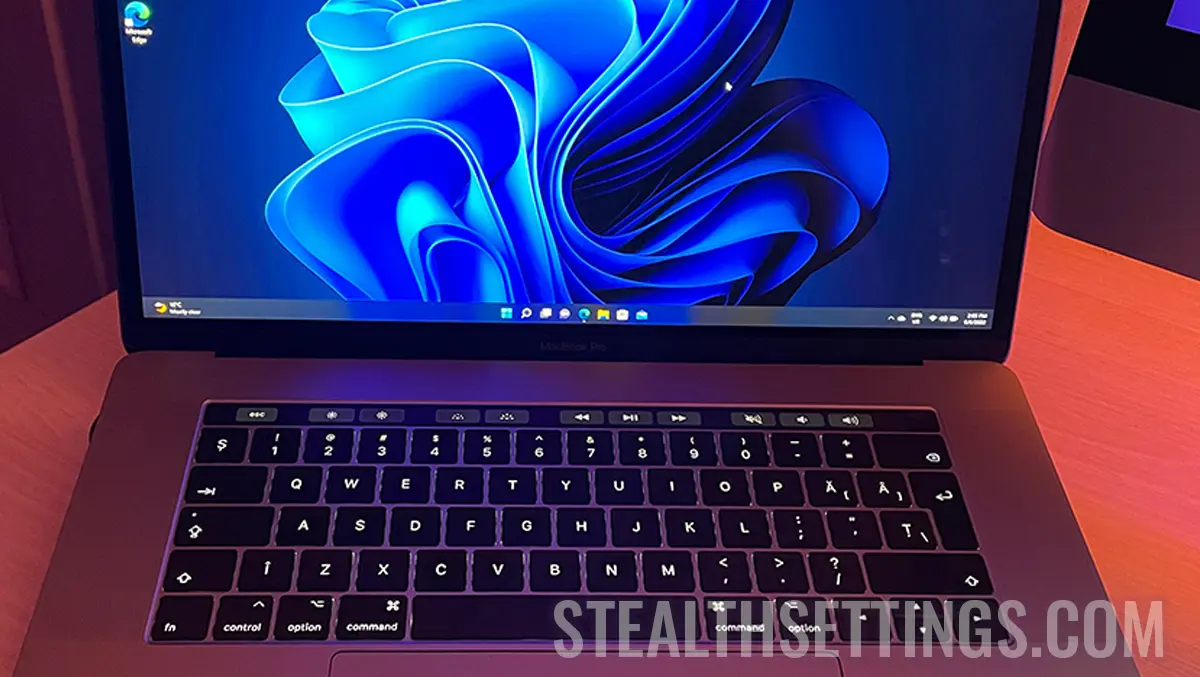
Macos is a very stable and reliable operating system, but if for some reasons you need to install Windows 11 on MacBook or Mac, in this tutorial you will see step by step how you can install with Boot Camp Assistant. For this tutorial, the installation of Windows 11 was done on the MacBook Pro 2017, the model with touch bar.
content
With the launch of Windows 11, Microsoft has limited this upgrade for many PCs and older generations laptops. Computers who do not support TPM 2.0 and UEFI (Secure Boot), theoretically, have no way to run Windows 11. For this reason, Windows 11 is not compatible with any Mac or MacBook, because Apple does not use computers for TPM 2.0 and UEFI. Theoretical. Basically, with a few operations and patience, you can install Windows 11 on MacBook, both Intel and Apple Silicon architecture (chip M1, M2, M3 or other generations).
I know there are many tutorials that show a few tricks with which you can install Windows 11 on the MacBook, but for MacBook models with Touch Bar and USB-C ports, it is a little more complicated. During the installation process, key combinations may be required to involve special keys “F” or need to connect a wireless mouse with USB receiver. For the problem to be even more complicated, Boot Camp Assistant on Macos Monterey (and on some newer versions) no longer allows the installation of Windows 10 using a USB stick. It was a trick that could change the Windows 11 files from the Flash Drive, and so the installation could be done. The trick remained valid only for Macos Catalina. The old popples of poppy.
Related: Fix “This PC can’t run Windows 11” and Install
How to install Windows 11 on MacBook (Touch Bar)
With all the difficulties mentioned above, you can install Windows 11 on the MacBook Pro with Touch Bar, following the steps below. It should be mentioned that this tutorial is written for Macos Monterey. Over time, Apple may have changed something in Boot Camp Assistant so that this process is simplified and the Windows 11 installation can be made much simpler. So, use this tutorial only if the method is standard installation does not deplete your Windows 11 installation.
Related: How to Install Windows 11 on Apple Silicon with VMware Fusion
1. Download the ISO image of the Windows 10 operating system.
Basically, there is no possibility to install Windows 11 directly with Boot Camp Assistant. The only option is to install Windows 10 first and then upgrade to Windows 11. (At least that's what I did after many other failed attempts).
Go to the official Windows 10 download page and download the ISE of Windows 10 on 64 -bit on Mac. Preferably in the folder “Downloads”.
Download Windows 10 ISO from Microsoft
2. Install Windows 10 on Mac with Boot Camp Assistant.
Open the Boot Camp Assistant utility on Macos and follow the Windows 10 installation steps, using the ISO image downloaded at Step 1. Assign for the operating system about 90 GB. Windows 10 on 64 bits require at least 20 GB, but to install Windows 11 on Macbook it takes at least 64 GB.
Most likely, in the process of installing Windows 10 you will not have Wi-Fi drivers to connect to the Internet (and no USB-C Ethernet adapter I don't think you have at hand). Complete the Windows 10 installation process on the Mac, and after starting the system, run the boot camp utility on Windows 10 (it has launched automatically) and wait to install all the necessary drivers, including for Wi-Fi. Connect Windows 10 via Wireless to the Internet and run Windows Updates.
3. Download the ISO image of Windows 11 on 64 bits.
Go to the official download page of Windows 11 and download the ISO image. Preferably, download it to a USB stick so you don't take space on Windows 10.
4. Download the Windows11Upgrade utility.
Windows11UPGRADE is a free utility, without advertisements and other nonsense through it, which helps us do bypass to Microsoft system requirements for Windows 11. Download Windows11Upgrade via Github.
Download Windows11Upgrade via GitHub.
5. Install Windows 11 with Windows11Upgrade.
At this step you start installing Windows 11 on MacBook. Run Windows11Upgrade on Windows 10 and select the ISO image of Windows 11 downloaded at point 3. The installation process can take a few good minutes, but at the end you will have Windows 11 on the MacBook Pro.
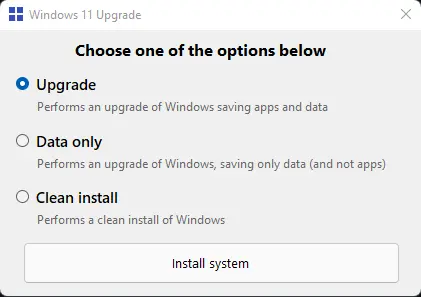
I installed it using the option “Upgrade”, being more sure considering that this utility was not designed to install Windows 11 on Mac. option “Clean install” I don't recommend it at all. It is possible to lose drivers installed with boot Camp and other Apple applications installed for the proper operation of Windows.
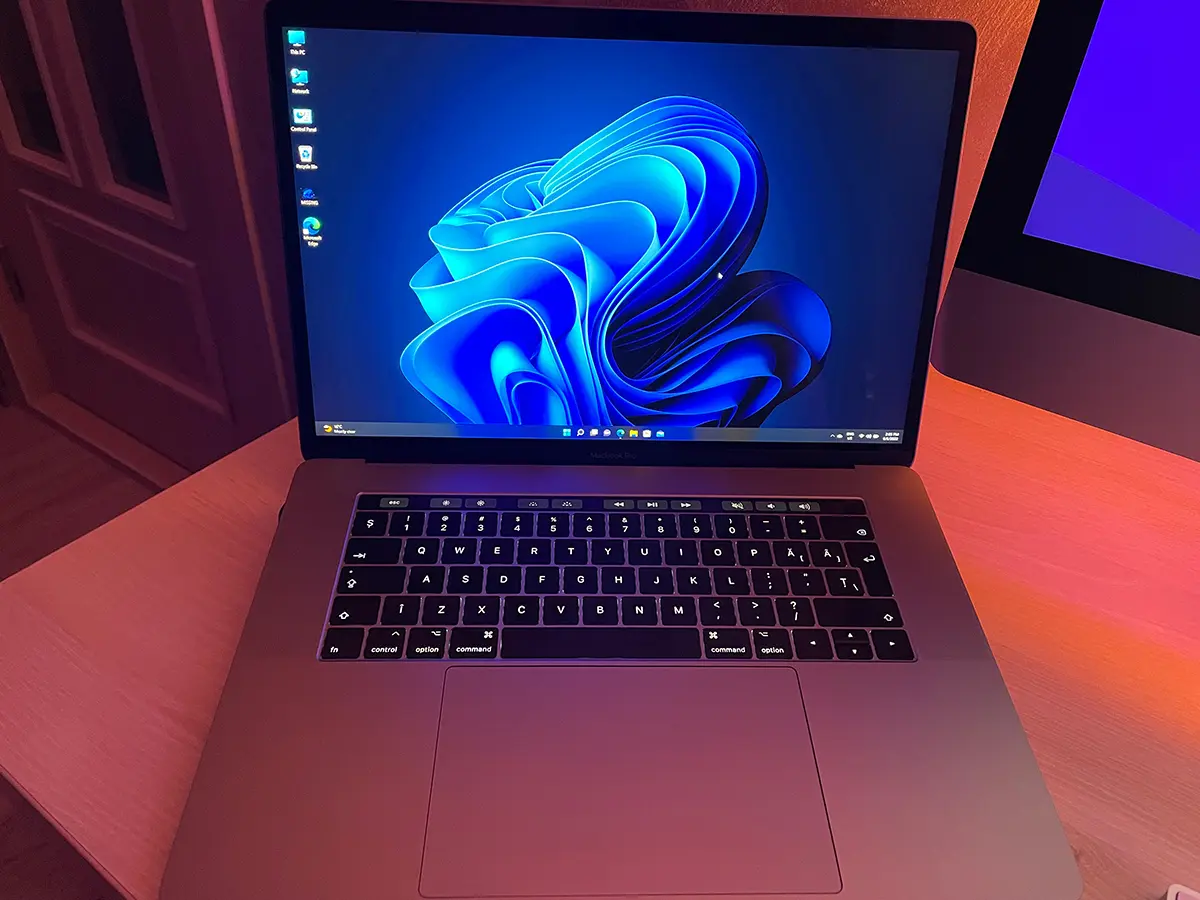
Windows 11 pe MacBook Pro – First impression
Related: How can you connect Magic Mouse (Apple) to a computer or laptop with Windows operating system.
The operating system runs very quickly, and in a few hours of tests I did not encounter errors. Touch Bar works for special keys “F” in combination with “Fn” And for the brightness commands of the display, keyboard and media control. The driver for the MACBook AMD Radeon Pro video card has been installed with the calibration and customization software. Magic Mouse 2 connects automatically, without the need for manual connection. Requires personalized settings for scrolling.
You may also be interested in...

One thought on “How to install Windows 11 on MacBook (Boot Camp Assistant)”
Try to install, coma by coma, point by point as indicated, but it does not work. A message appears, after a while, saying (Windows 11) that “is with difficulties in checking the compatibility of the equipment”. Just what you don't have to say, since the Windows 11-Upgrade app is to prevent that pass.