And tutorial very useful that shows you How you do Screen Recording with Snipping Tool on Windows 11, without having to install any video capture application.
The need to do screenshot (screenshot) And to share the image is obvious for a long time. Both on Windows, which from more rudimentary versions has the key “PrtScn” on the keyboard, as well as on Android or iOS.
When we want to show someone in more detail certain operations on the PC, a simple image is no longer enough. A Video capture with screen recording It is the best choice. Screen Recording.
How you do Screen Recording with Snipping Tool on Windows 11
Starting with Windows 11 Insider Preview Build 22621.1245, Microsoft introduce screen recording in Snipping Tool (11.2212.24.0). Capability by which all Windows 11 users can make the screen video captures, which they can then easily share.
This capability will save many users from the need to install a third application on Windows 11 to capture the screen video.
Let's see step by step how you do screen record with Snipping Tool pe Windows 11.
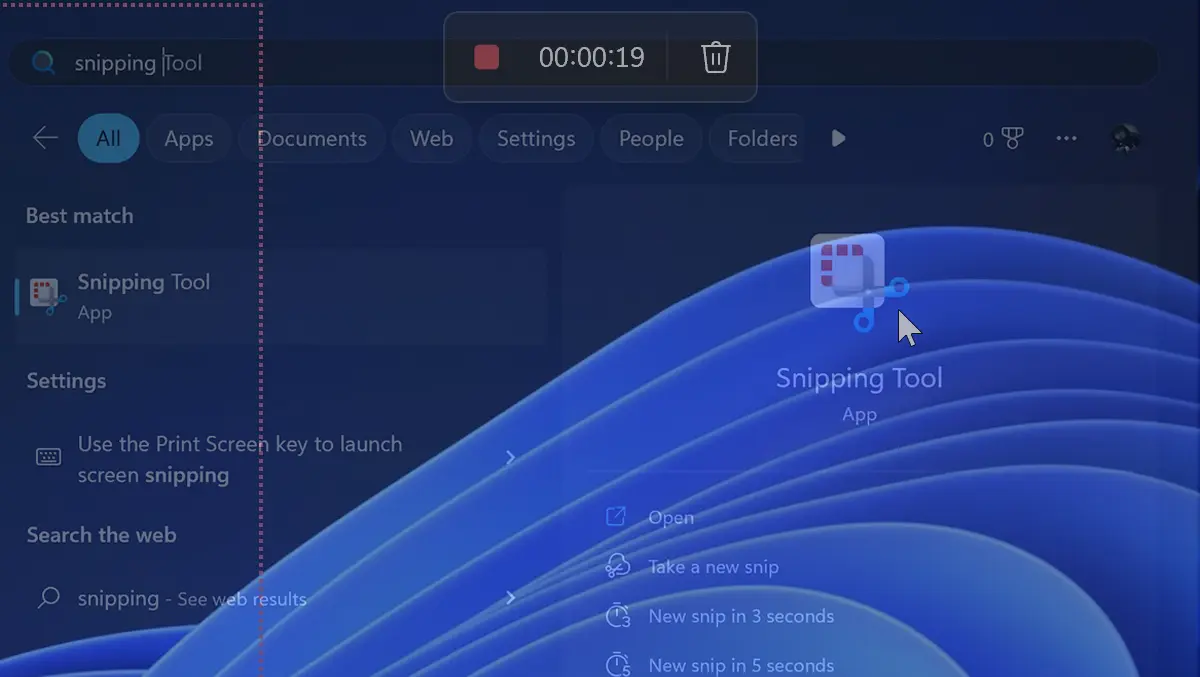
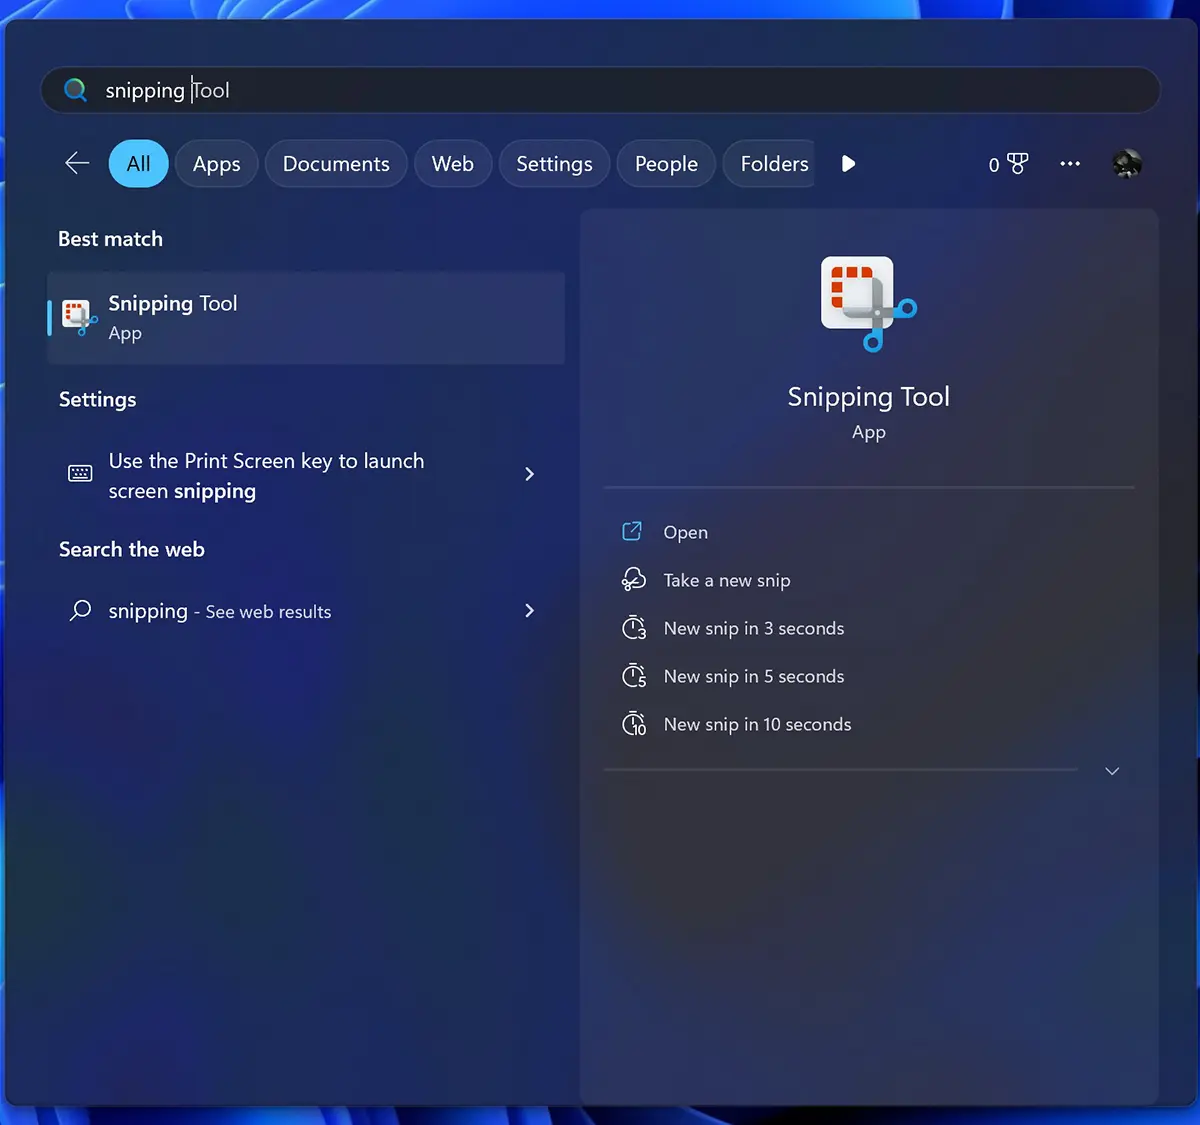
1. Open the application Snipping Tool.
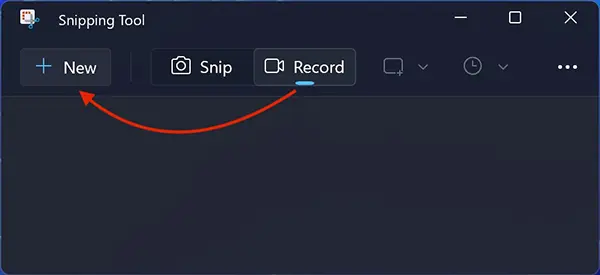
2. In the application Snipping Tool, click on the new option Recod, then click on New.
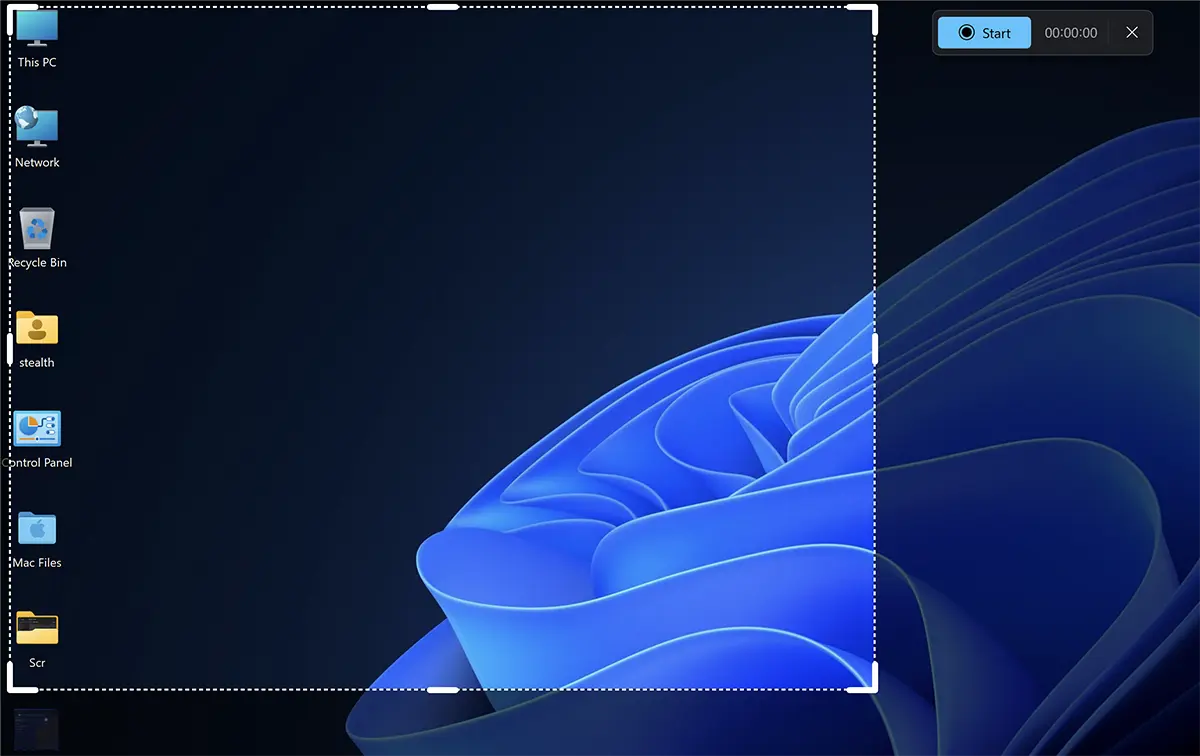
3. Select the screen area that you want to be recorded in video capture, then click on “Start”.
4. When you want to stop Screen Recording, click on the Rosu button. Stop.

5. The Snipping Tool application will be opened with the new screen video capture, which you must save manually.
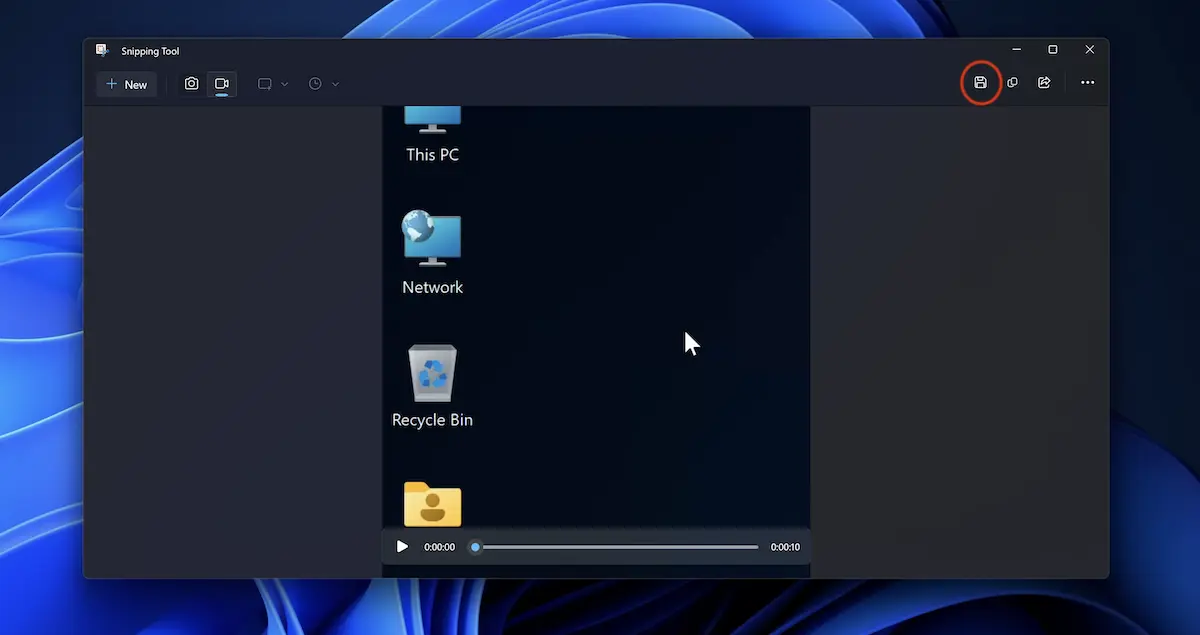
Click on the icon Save, then you choose the place where you want the file MP4 to be saved.
This option is currently available only for users who have PCs enrolled in Windows Insider Beta / Dev Channel.
At the moment, I have obsessed that this new version of Snipping Tool has two bugs. One related to the cursor, whose speed increases significantly during registration, and another related to a new record inside the application.
You may also be interested in...
