A few days ago, Microsoft launched the beta version “CONSUMER PREVIEW” of the future version of Windows. Windows 8 It will be a slightly different operating system compared to what we currently have. At least as the graphic interface.
For those who are eager to test the new operating system Windows 8, we recommend them to do this virtual (by VirtualBox) or install it in dual boot with the existing system. Specifically, not to install it as a basic system.
Windows 8 installation instructions on VM VirtualBox.
Here we are talking about two very simple stages. The first stage is Preparation of the virtual system Al Installation of Windows 8 operating system on the virtual computer.
Preparation of the virtual system that we install Windows 8.
1. First of all, we must download the installation kit of Windows 8 and VirtualBox.
Download Windows 8 Beta – Download here. (imagine .ISO)
Download VirtualBox – Download here.
2. Install VirtualBox. The installation is made normal as in any other program. No need for tutorial :)
3. We open virtualBox and click on the blue icon “New” to add a new virtual operating system. In the first screen “Create New Virtual Machine” We click on the button “Next”.

4. In the next VirtualBox dialog box, type “Windows 8” In the box reserved for the name (NAME) and we are careful to be selected as an operating system “Microsoft Windows“, and as a version, “Windows 8“.

5. In the next screen we have the option of allocating RAM for the virtual system. It is preferable to keep you most for the basic system. Assigned depending on the total memory installed on your system. In our case we allocated 1.4 GB of 6 GB. Click “Next”.

6. Here we will have to create an hard disk virtual. We are attentive to be ticked the options “Start-up disk” and “Create new hard disk“.

After we click on the button “Next” In the next screen we leave the option tick the option VDI (Virtual Disk Image), then click again on “Next”. Here we leave checked “Dynamically allocated“.
The minimum space allocated will be 20 GB. If you plan to test bigger applications on this system, it is good to assign them more. You need to know that if you allocate 30 GB for the virtual system and leave the option tick “Dynamically allocated“, this space will not disappear immediately from the hard disk of your PC 30 GB would indicate the maximum value that the virtual system can occupy. If you choose ‘Fxed size”, the space allocated the virtual system will be reserved from the beginning.

7. In screen-ul “Create New Virtual Disk“, we choose the folder to save the file that will contain the virtual system (Windows 8.vdi). Click on the yellow icon to open Windows Explorer so we can choose our location. We can leave the setting default.
Below we have the option by which We allocate the space. In our case we chose 30 GB.
After we click on the button “Next” A summary of the hard disk parameters will appear. The type of allocation of the space, the director in which the .vdi file and the maximum space allocated for it is saved.

Click pe “Create” for completion.
From this moment we finished with the first stage and we have created the virtual computer that we can install the Windows 8 operating system.

Tororial Installation Windows 8 on VirtualBox
After downloading the Installation Kit of Windows 8 in .iso format and we have prepared our virtual PC, we start meeting the operating system.
1. We select the Windows 8 operating system by virtualbox and we click on “Start” (green arrow. See the image above). In “Welcome to the First Run Wizard” click “Next”.
2. In “Select Installation Media” We have several variants. Either to mount the picture .iso on a virtual optical unit (We recommend Virtual CloneDrive), either to launch the installation from a DVD or, the simplest direct in the .IO image.
Click on the yellow icon to open Windows Explorer. We select the .iso image from the hard and click ok.

Click “Start” to start installing Windows 8.

3. In the first screen “Windows Setup” Leave the default and click settings “Next” & “Install Now”

4. Enter the series (Product Key: NF32V-Q9P3W-7DR7Y-JGWRW-JFCK8)

5. Choose as an installation option: “Custom: Install Windows only (advanced)”.

6. at the next step leave the partition of the selected virtual hard drive and click “Next” for the continuation of the installation. I do not think it is necessary to do more partitions.

After this step the installation will start. A process that will take a few minutes.

7. Choose a name for PC and a background color (optional).
8. Enter an e-mail address (msn or live.com) at “Sign in to your PC”.

In the next steps you will need to set your MSN or Live account. Password, question and security answer…
9. After completing Step 8. Wait to synchronize with your live/MSN account.
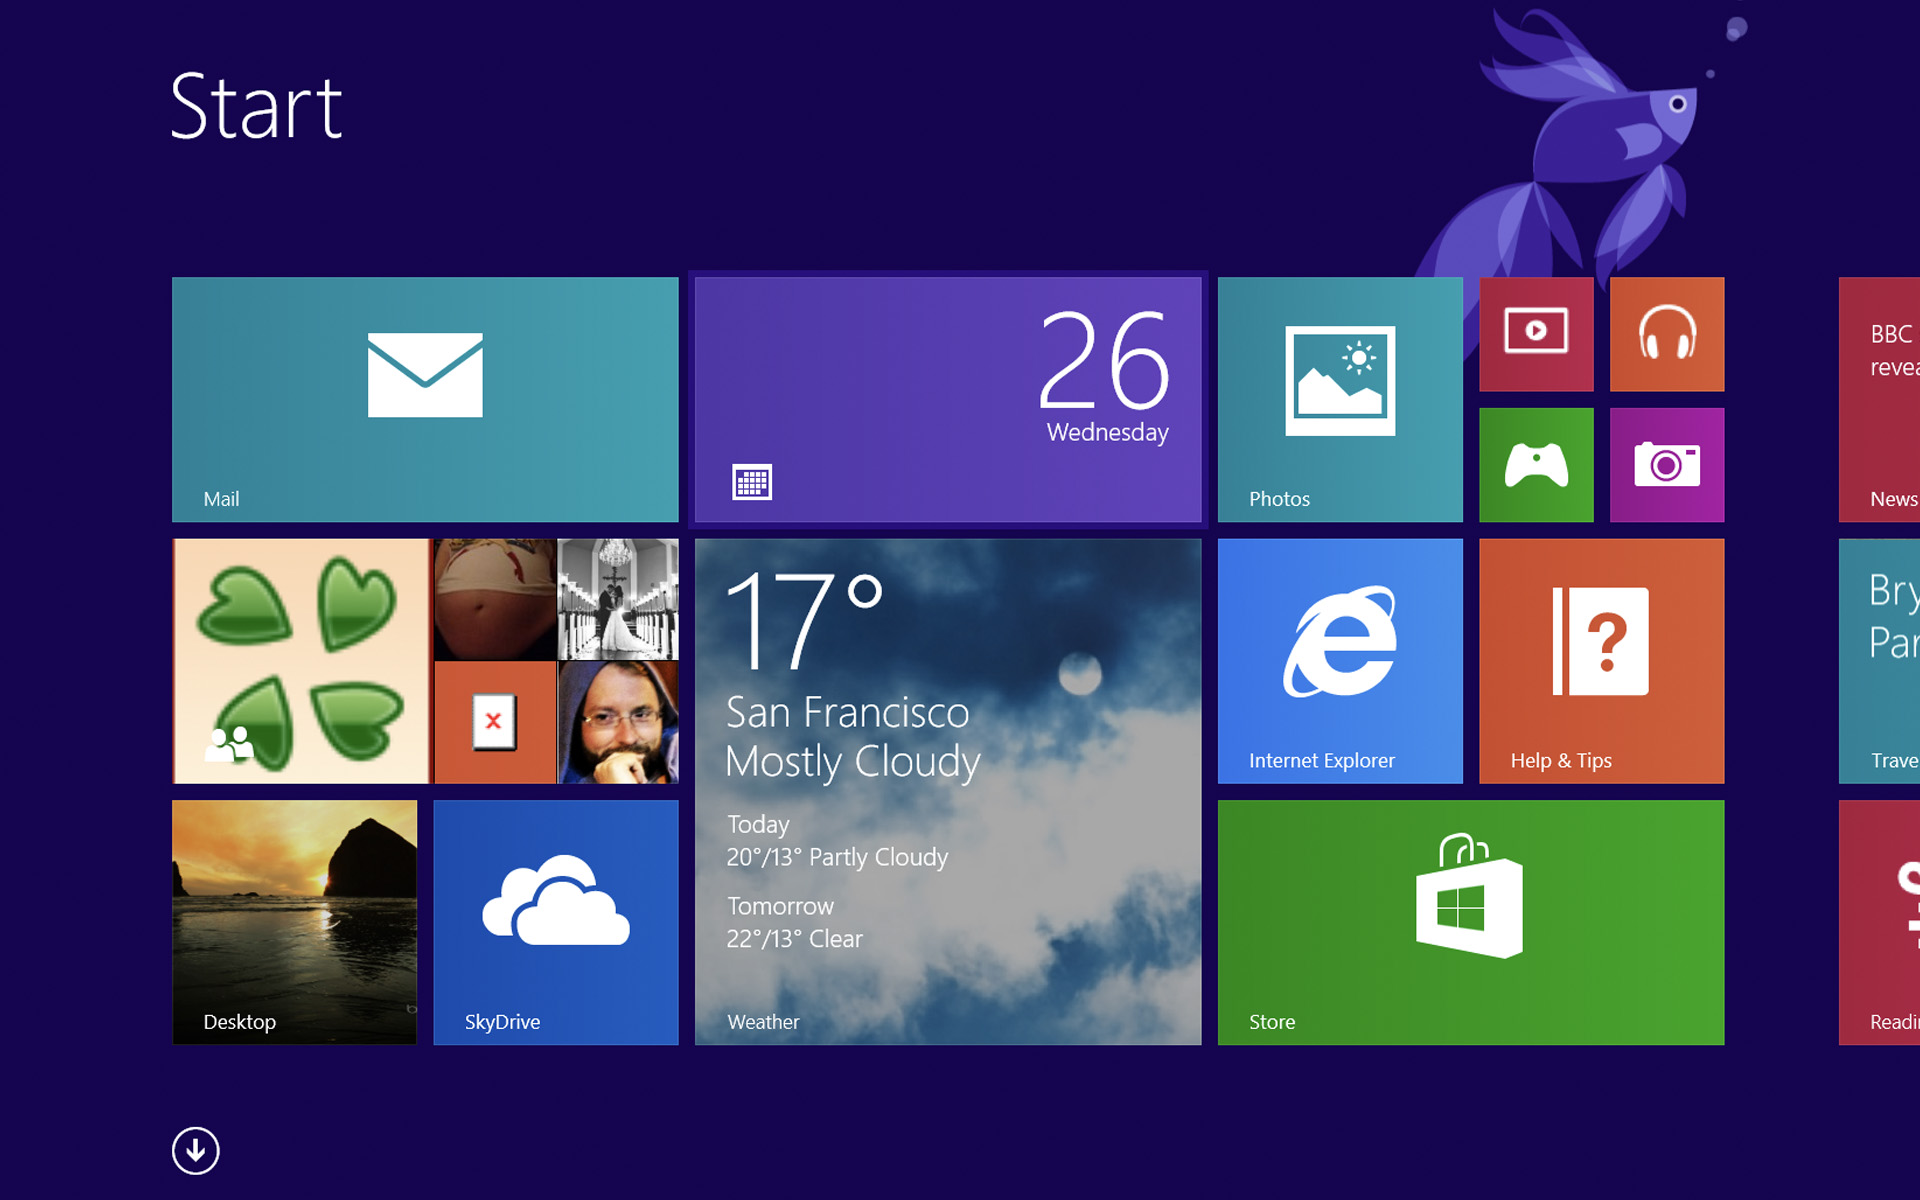
In the end, the interface of the Windows 8 operating system will appear.

Totally different at least as the interface compared to what Microsoft has become accustomed to.
Among the news of the Windows 8 operating system are also a beta version of Internet Explorer 10.
Stealth Settings – Installation Windows 8 Consumer Preview on VirtualBox.
You may also be interested in...
